


The project
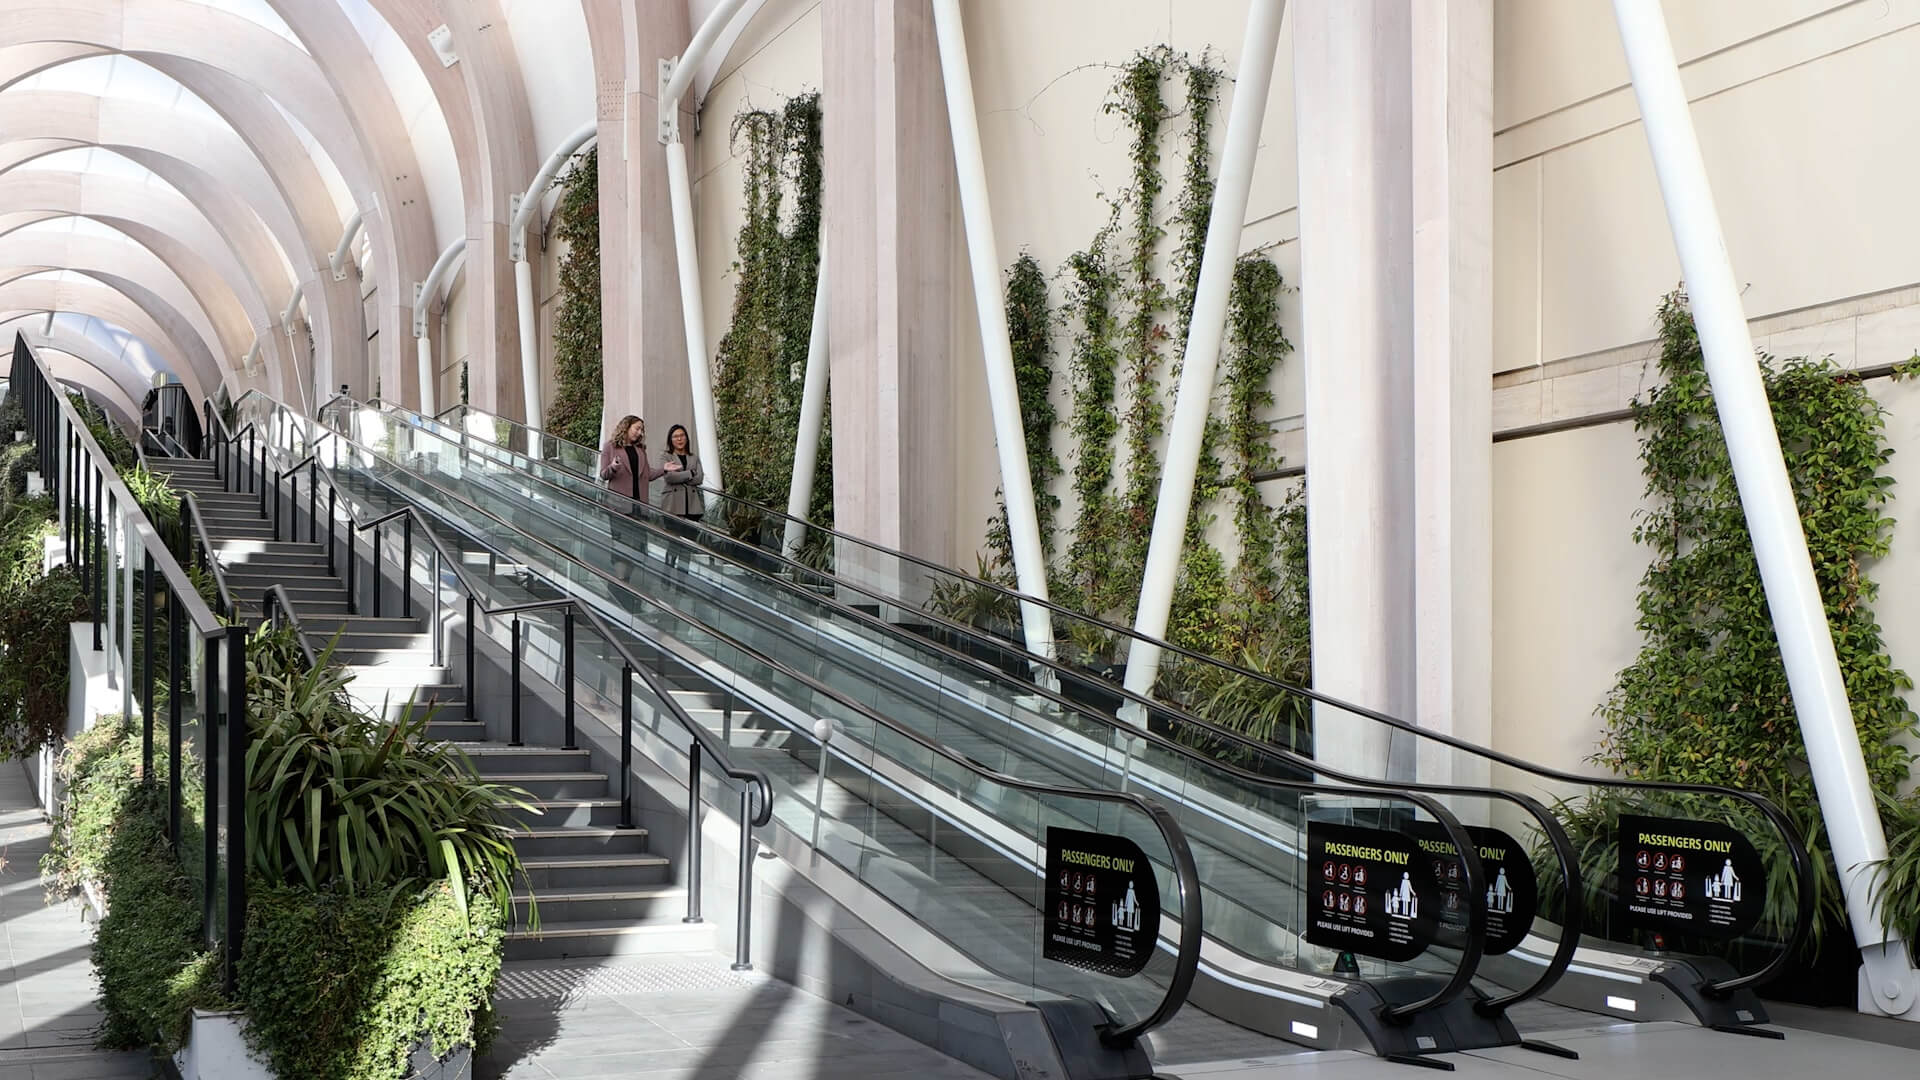
The Link is a breathtaking new pedestrian walkway that connects Melbourne’s Chadstone Shopping Centre to the Tower One office building and Hotel Chadstone, MGallery by Sofitel. Taking cues from the arched glass roof of the shopping centre, Make designed a 110m-long vaulted passageway with an Italian larch glulam diagrid structure and semi-translucent PTFE canopy.
The space, which soars up to 15m at its tallest point, includes native soft landscaping, plentiful seating and bespoke nighttime lighting, and will neatly traverse the change in site levels with travelators and stairs. The flexible design can also accommodate pop-up retail, food and beverage, and events spaces.
The model
We built an identical pair of models for our London and Sydney studios’ showcase collections, having previously built sketch models for the project during the design phase. The model shows a section of The Link, allowing us to work at a larger scale (1:50) to show details that tell the story of the project and its design and construction.

Base build
The model has an acrylic carcass that’s built up with individual PLA prints, created on our Ultimaker printers, to form the main elements of the base, planters and travelator sections. We decided to use a classic, warm wooden finish to reference the wooden glulam beams that support the canopy in the actual structure.
The base structure is clad with laser-cut maple veneer, scored to show details of the flooring tiles and with cut-outs to allow the arch sections to be dropped in and neatly glued into place. The escalator rails were laser-cut from clear acrylic and the handrail was sprayed onto them with a paint colour-matched to the veneer.
Gravel, coloured flock and small model bushes were added to the planters to bring them to life. This fiddly step was important to complete before the structure of the canopy was attached and made access difficult.

Borrowing from model aircraft
The arches and canopy are the standout features of the project, and the model needed to express them effectively. Canopies and stretched structures like this present an interesting challenge to a modelmaker, and there are a few techniques that can be used to represent them at scale.
Modelmakers will often use vacuum forming to produce shapes with a complex curvature, creating a former that is used to shape a thin sheet of plastic into the required profile. To avoid this additional step – and to have fun experimenting! – we looked at employing classic model aircraft building techniques.
To reduce weight in a remote-controlled plane or glider, modellers will often use a stretched skin that’s applied over a wooden structure. In decades past this would have been tissue paper that was ‘doped’ to shrink and adhere it, but the modern technique is to use heat-shrink film that can be ironed or carefully heat-gunned to create the same effect.
After building a plywood mock-up of the arch structure, we used a specialist iron and polyester sheet to practice with. With a little trial and error, Alex refined the technique of fixing the sheet onto the mock-up, until we were confident enough to work on the model.

Creating tension
We worked out that the structure had to be beefed up slightly to withstand the tension of the stretched canopy. The arches were laser-cut from ply and then laminated with veneer on each face to match the base components. The arch sections have a half-housed joint that allows each cross-piece to connect and fit over the other, creating a very strong structure.
Alex got into the groove and in record time had attached the polyester heat-shrink film – a beautiful-looking canopy completed! It was important to keep the tension even across the whole canopy and work methodically to prevent the polyester from getting overheated, wrinkled or torn.
We trimmed excess polyester from the edges of the wooden arches and used a frost spray to dust the shiny plastic of the canopy to give it a matte look and make it more in keeping with the textures of the wood.


Final details
The final detail work was animating the model. We 3D-printed several 1:50 scale figures on our Form2 SLA resin printer and sprayed them chrome silver before gluing them onto the model.
With that, the models were complete. One was boxed and shipped off to Sydney and the other installed as the centrepiece of a mini exhibition on The Link in our London studio.