


Client LBS Properties, Meridian Property Holdings
Scale 1:100
Dimensions 600mm x 600mm x 2240mm
Time to make 3 months
Materials Acrylic, MDF, aluminium box section, PLA 3D prints, cellulose paints
Modelmaker Theodore Polwarth
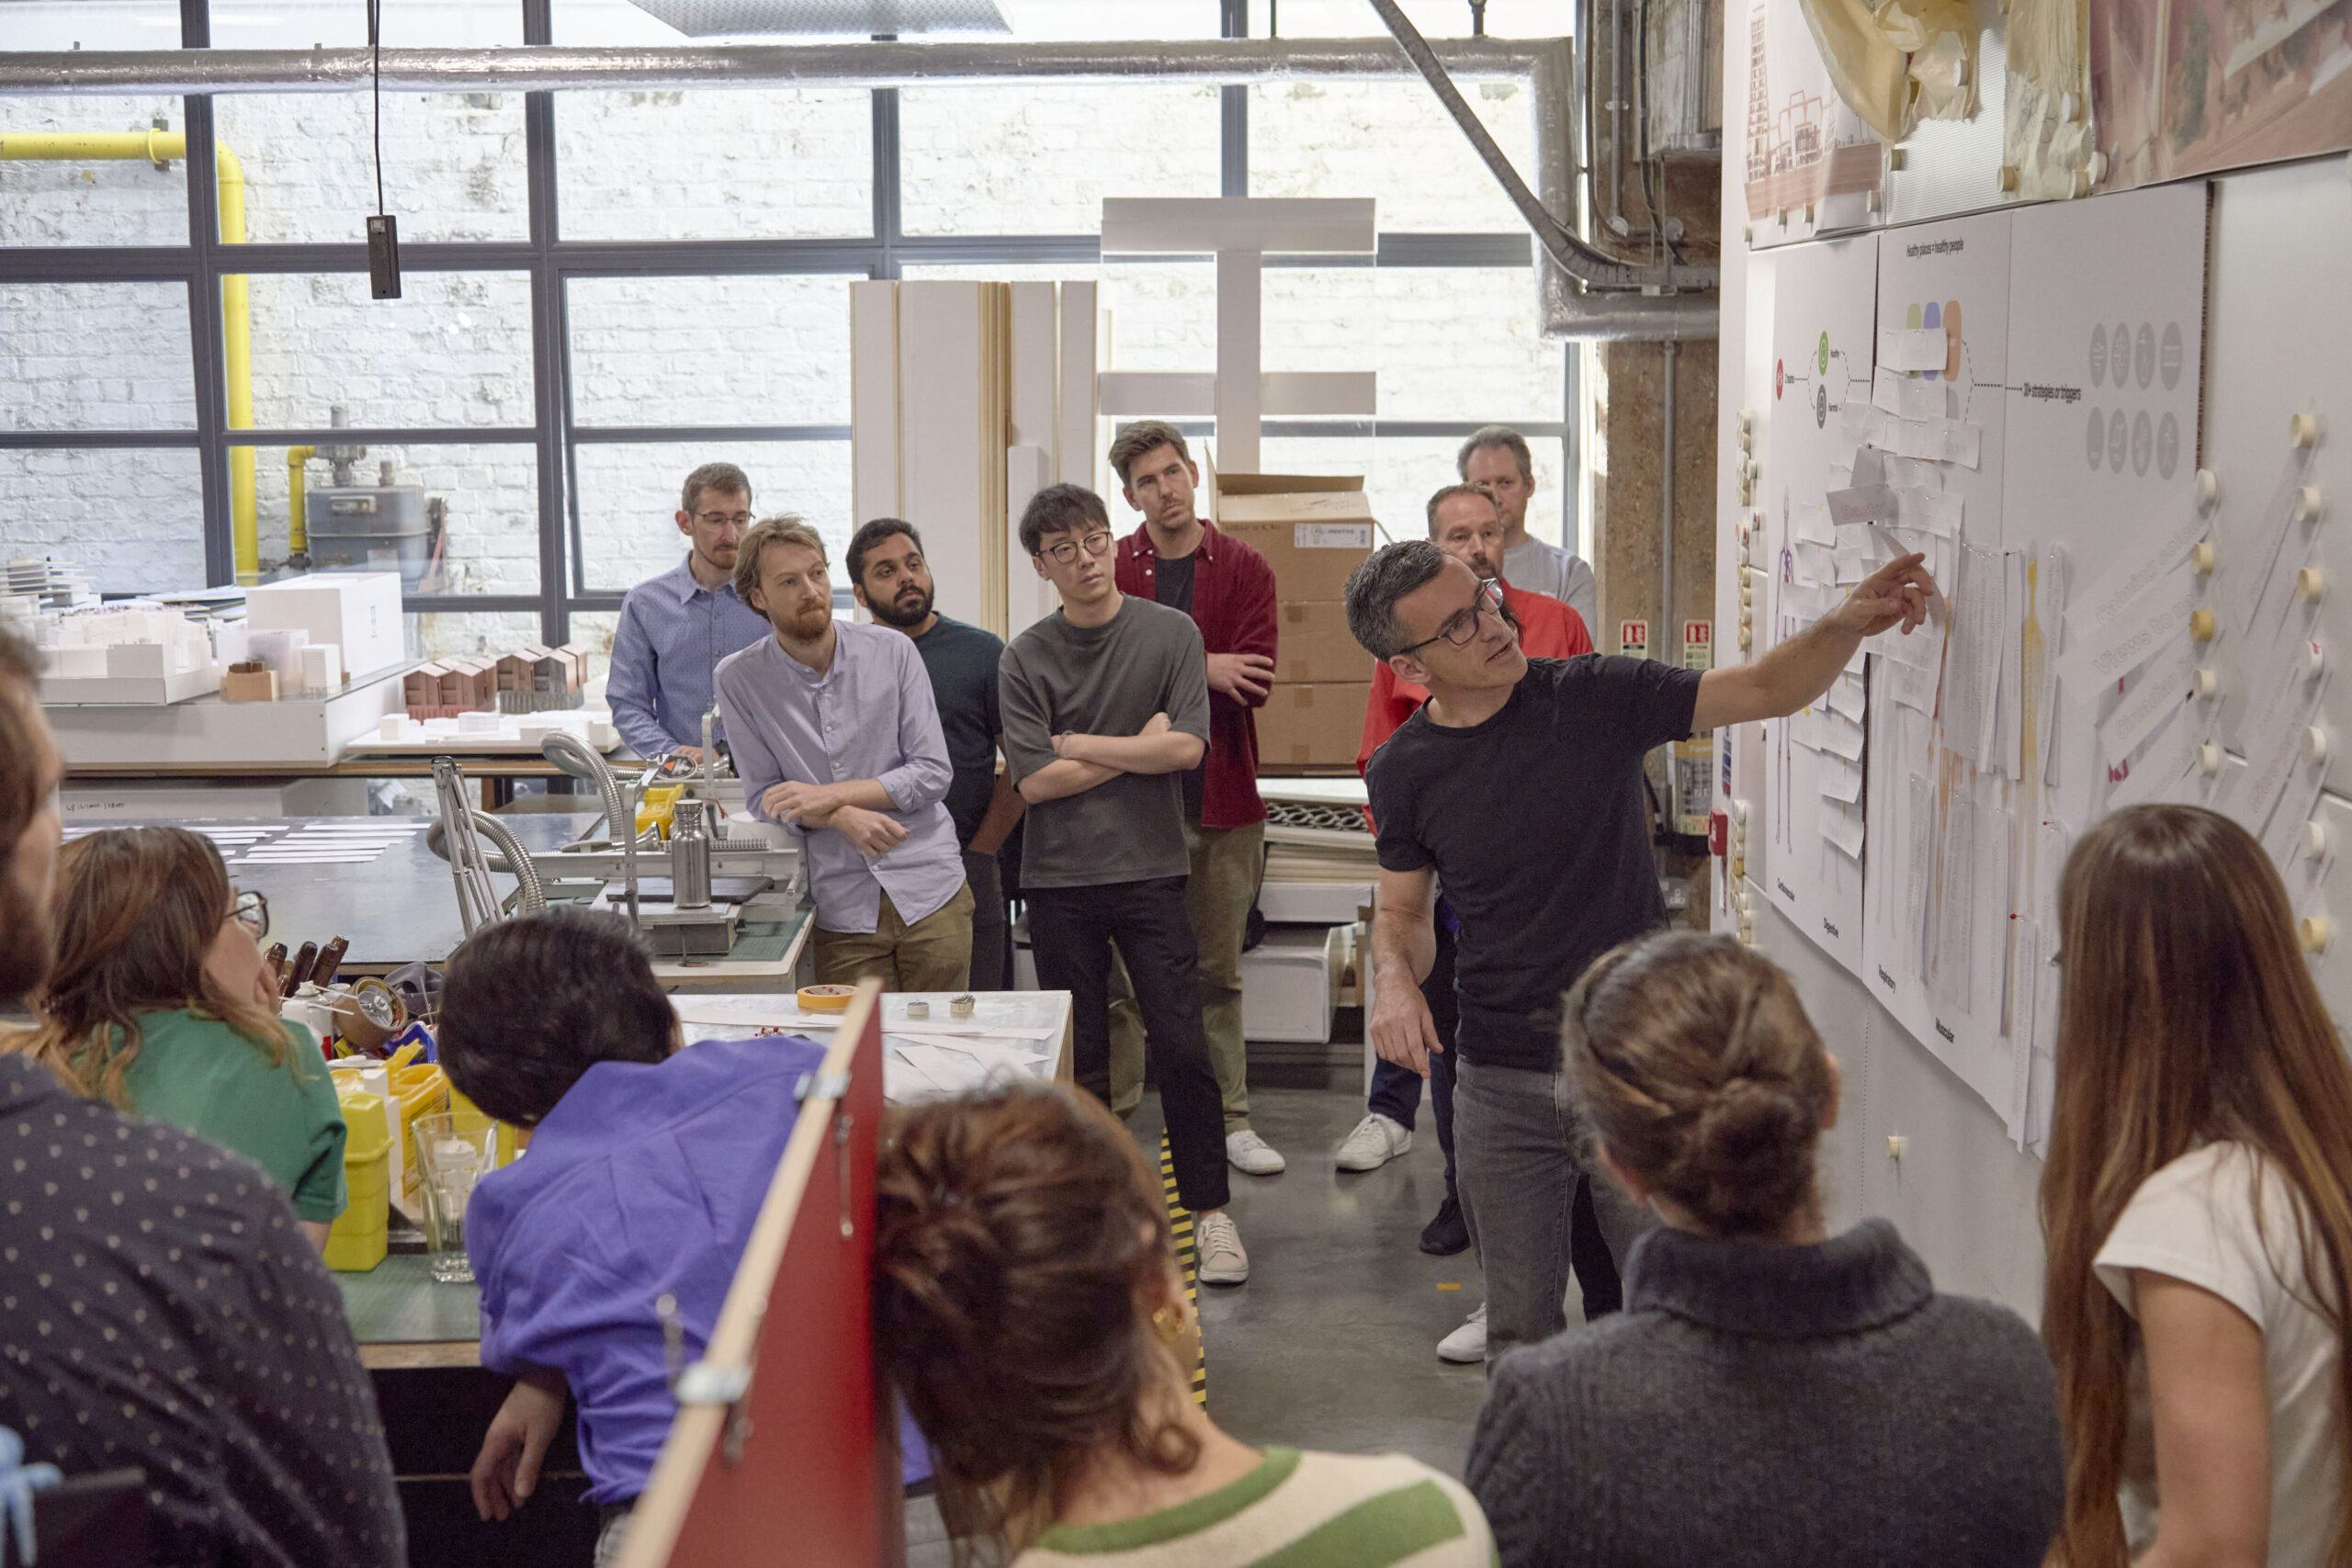
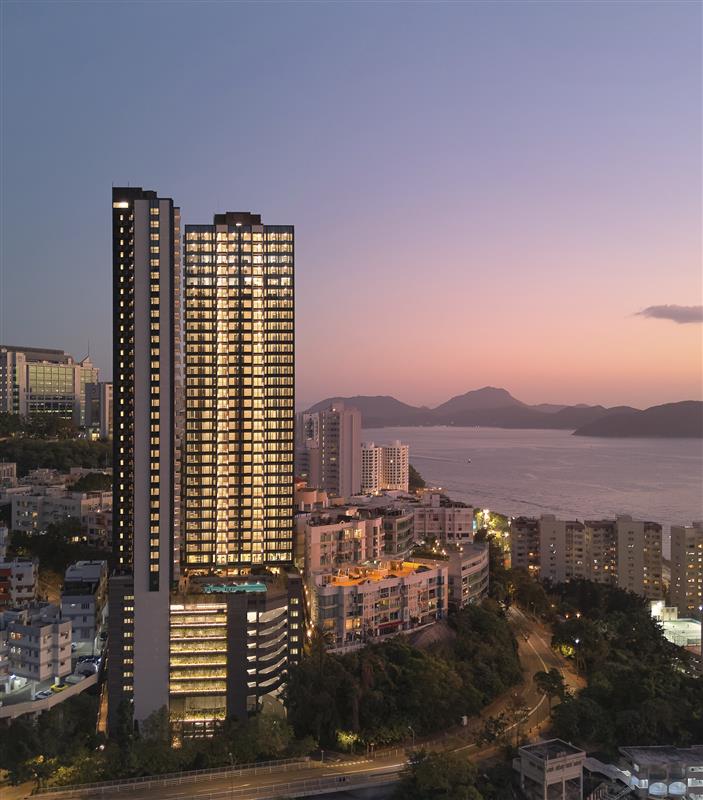
The project
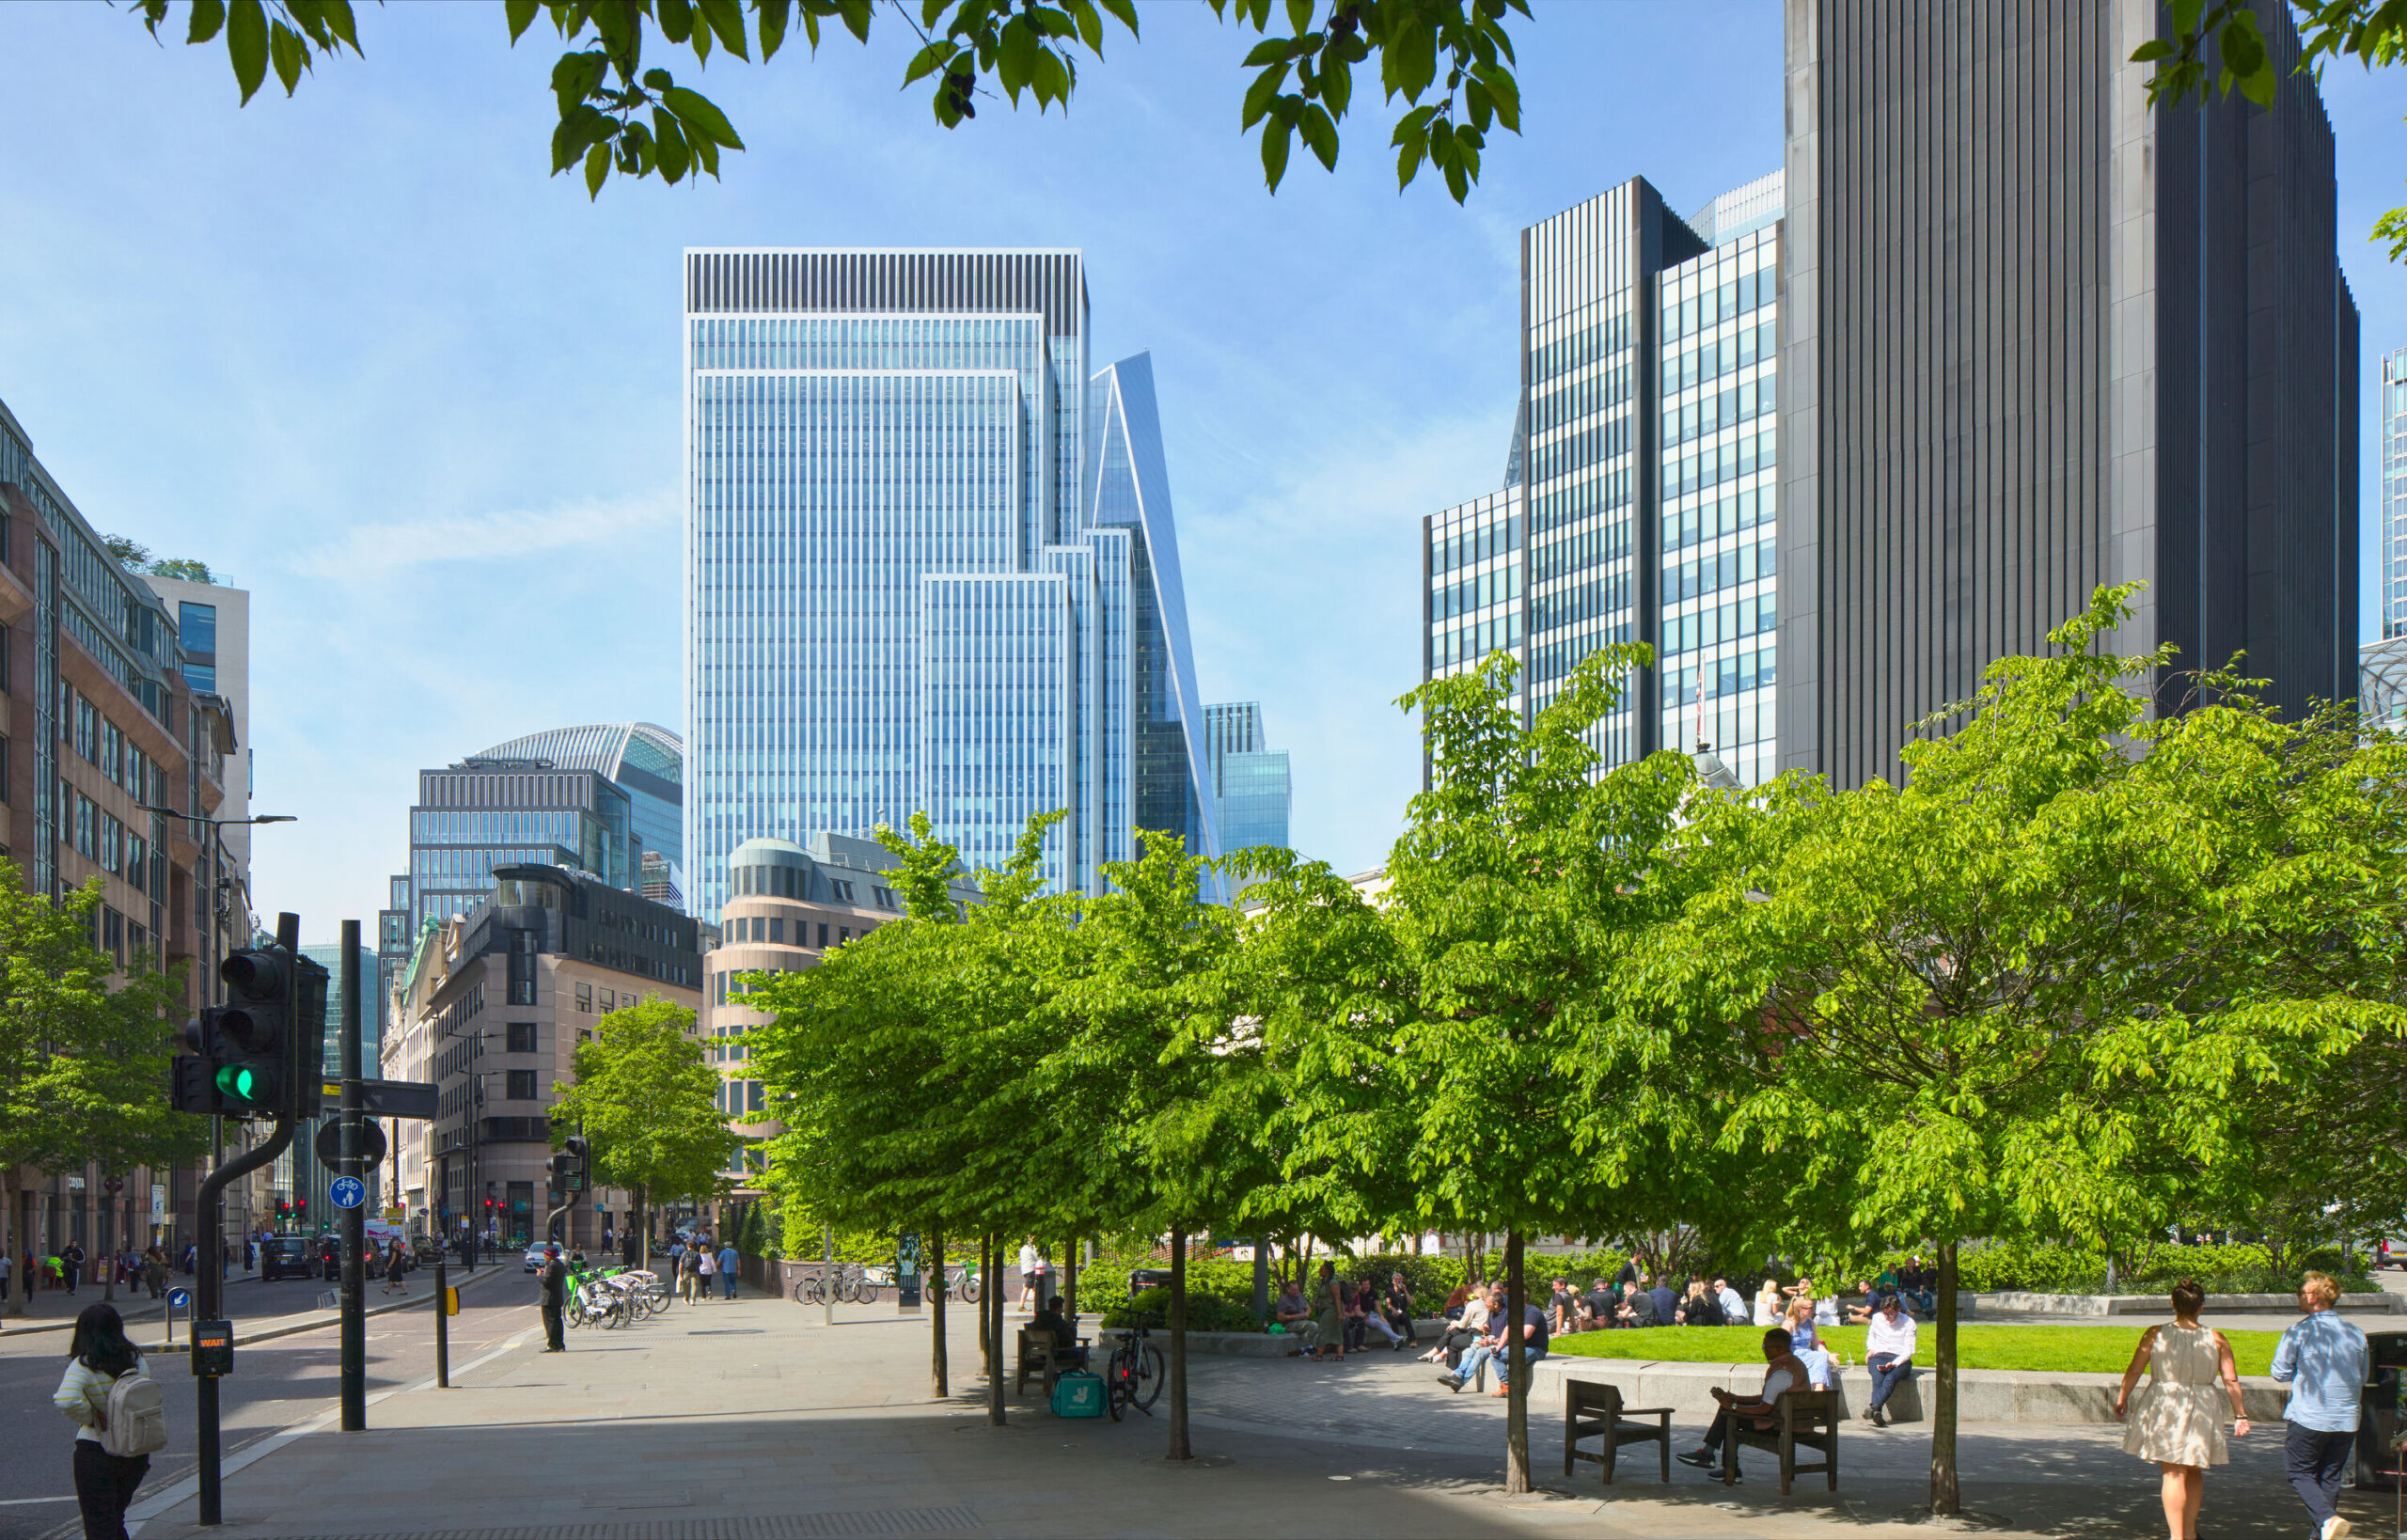
Our design for The Madison is inspired by the fluidity of the surrounding docklands. The 53 storeys of elegant residential accommodation are animated by a fin-clad facade that creates a moiré rippling effect, and anchored with an angled peak and slender silhouette. Theodore worked on a model for the project while on work experience at Make.
What was the purpose of the model?
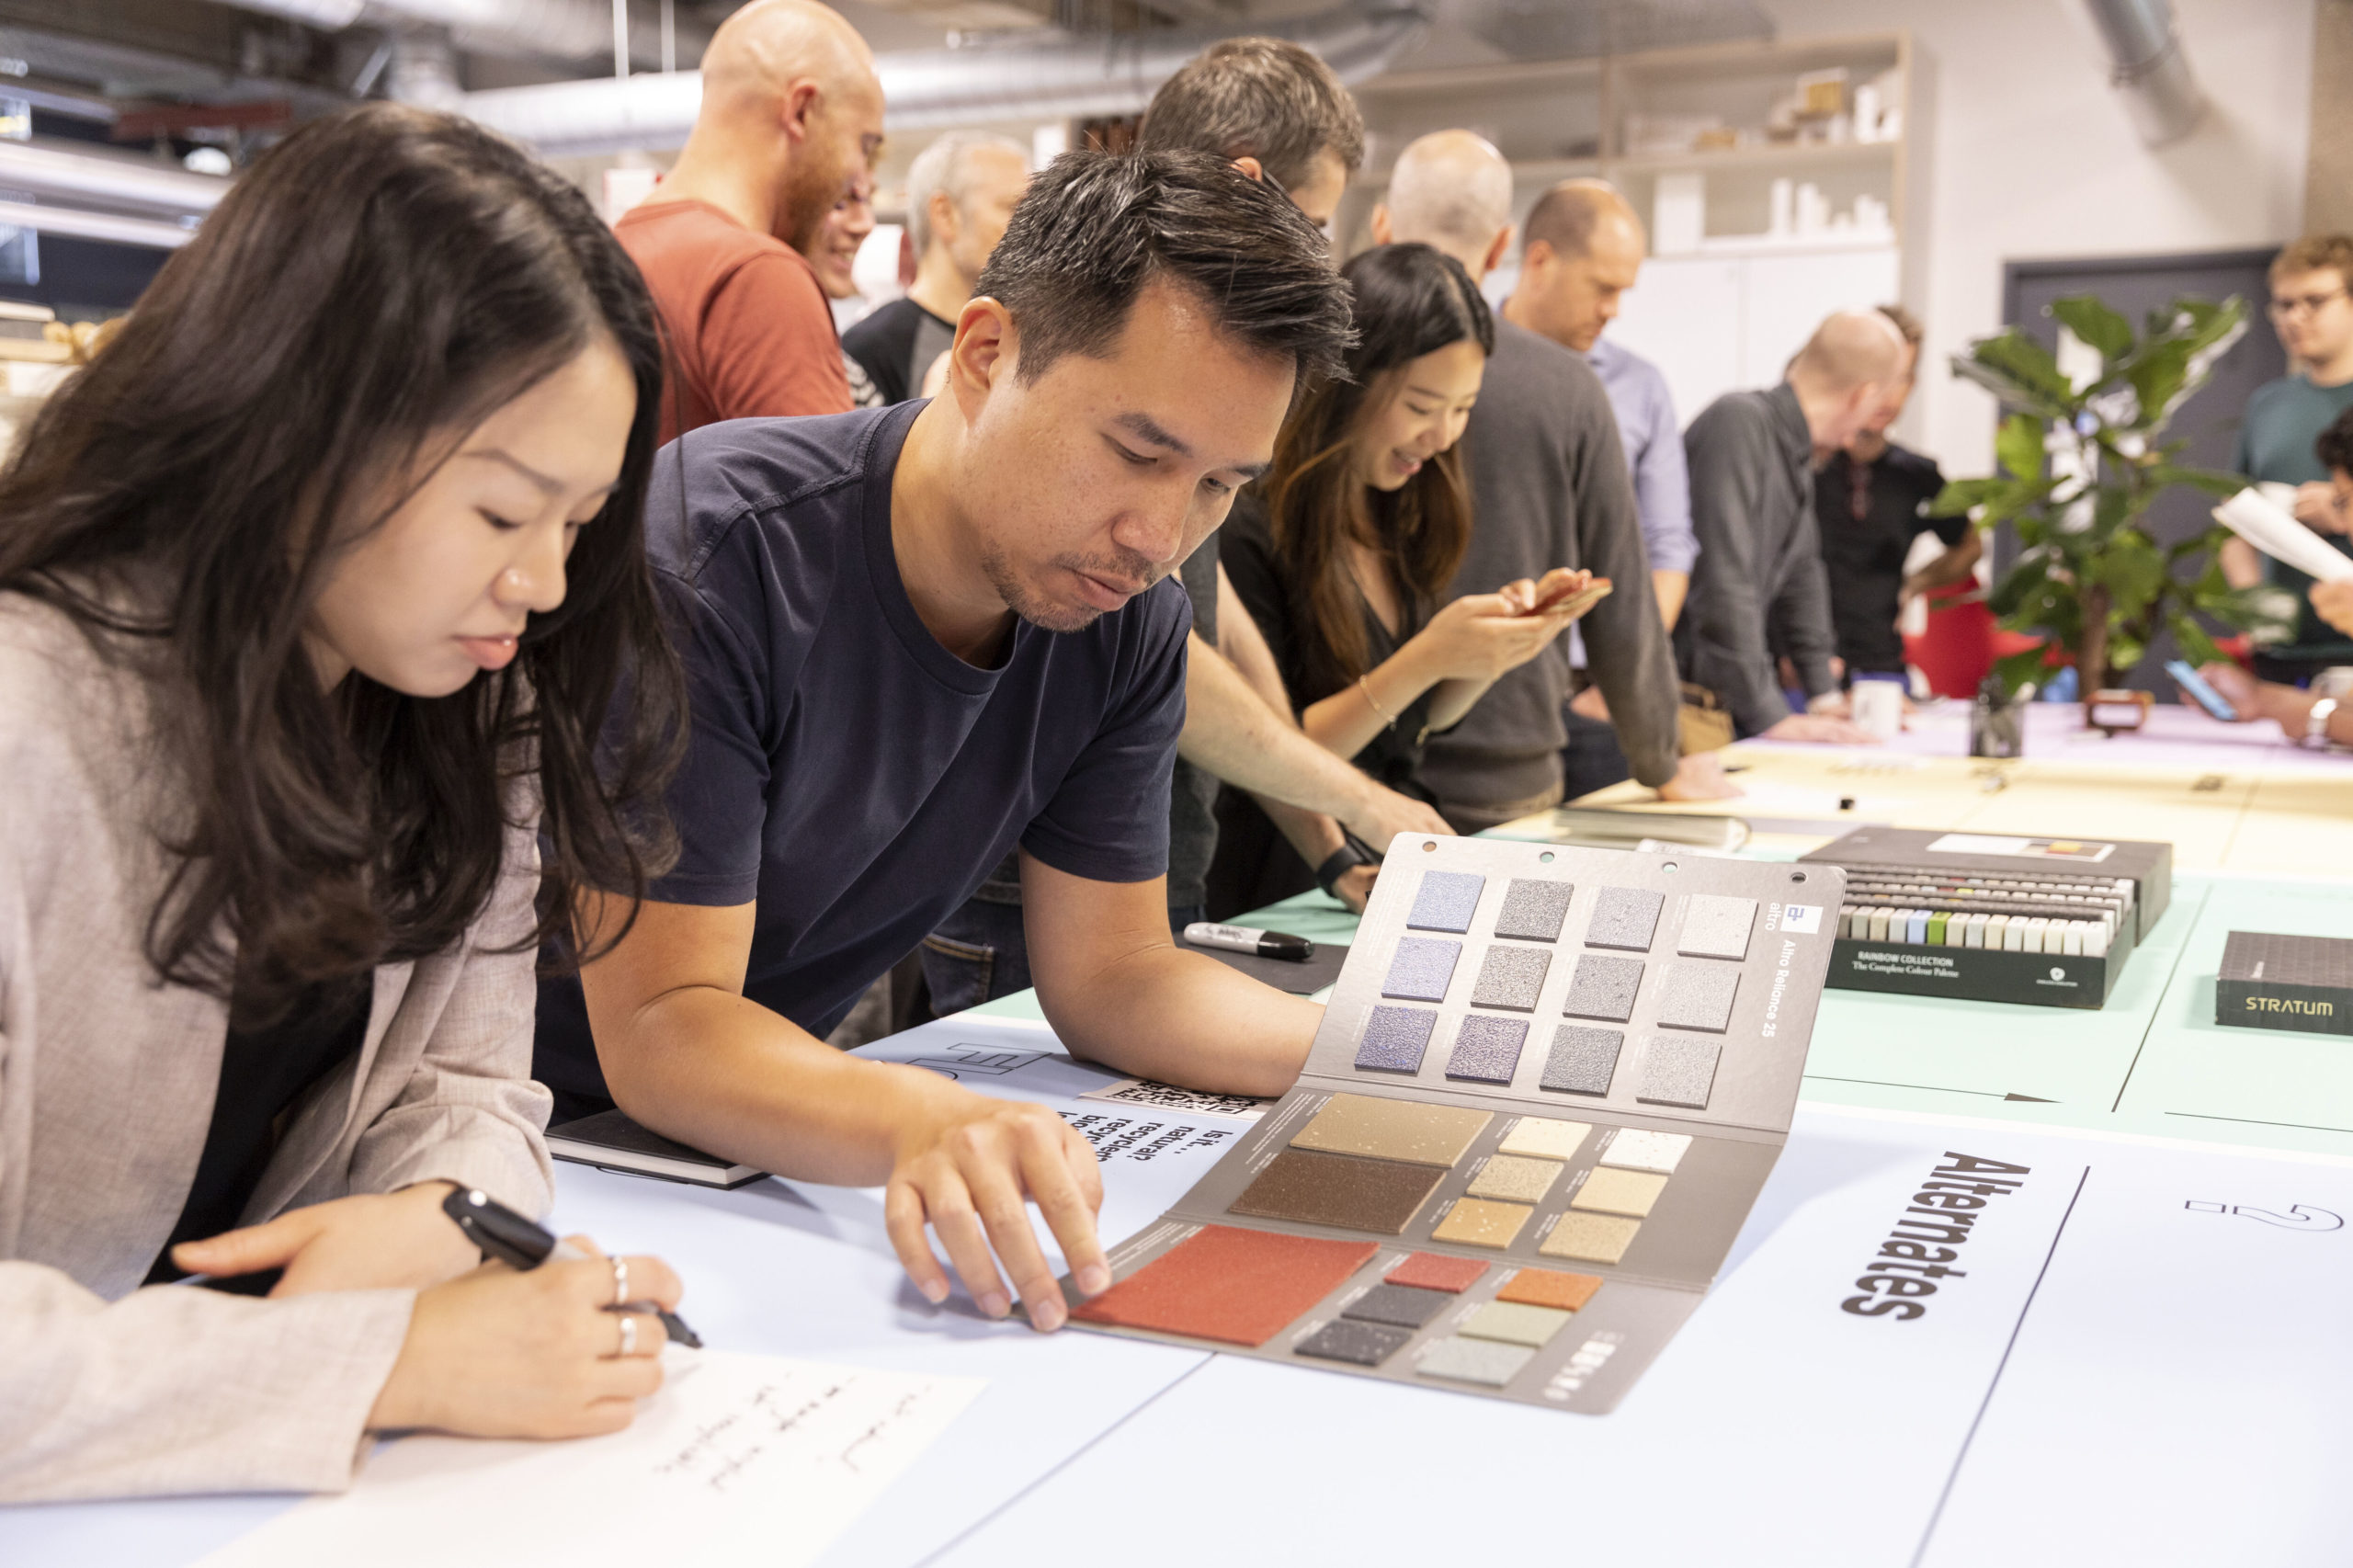
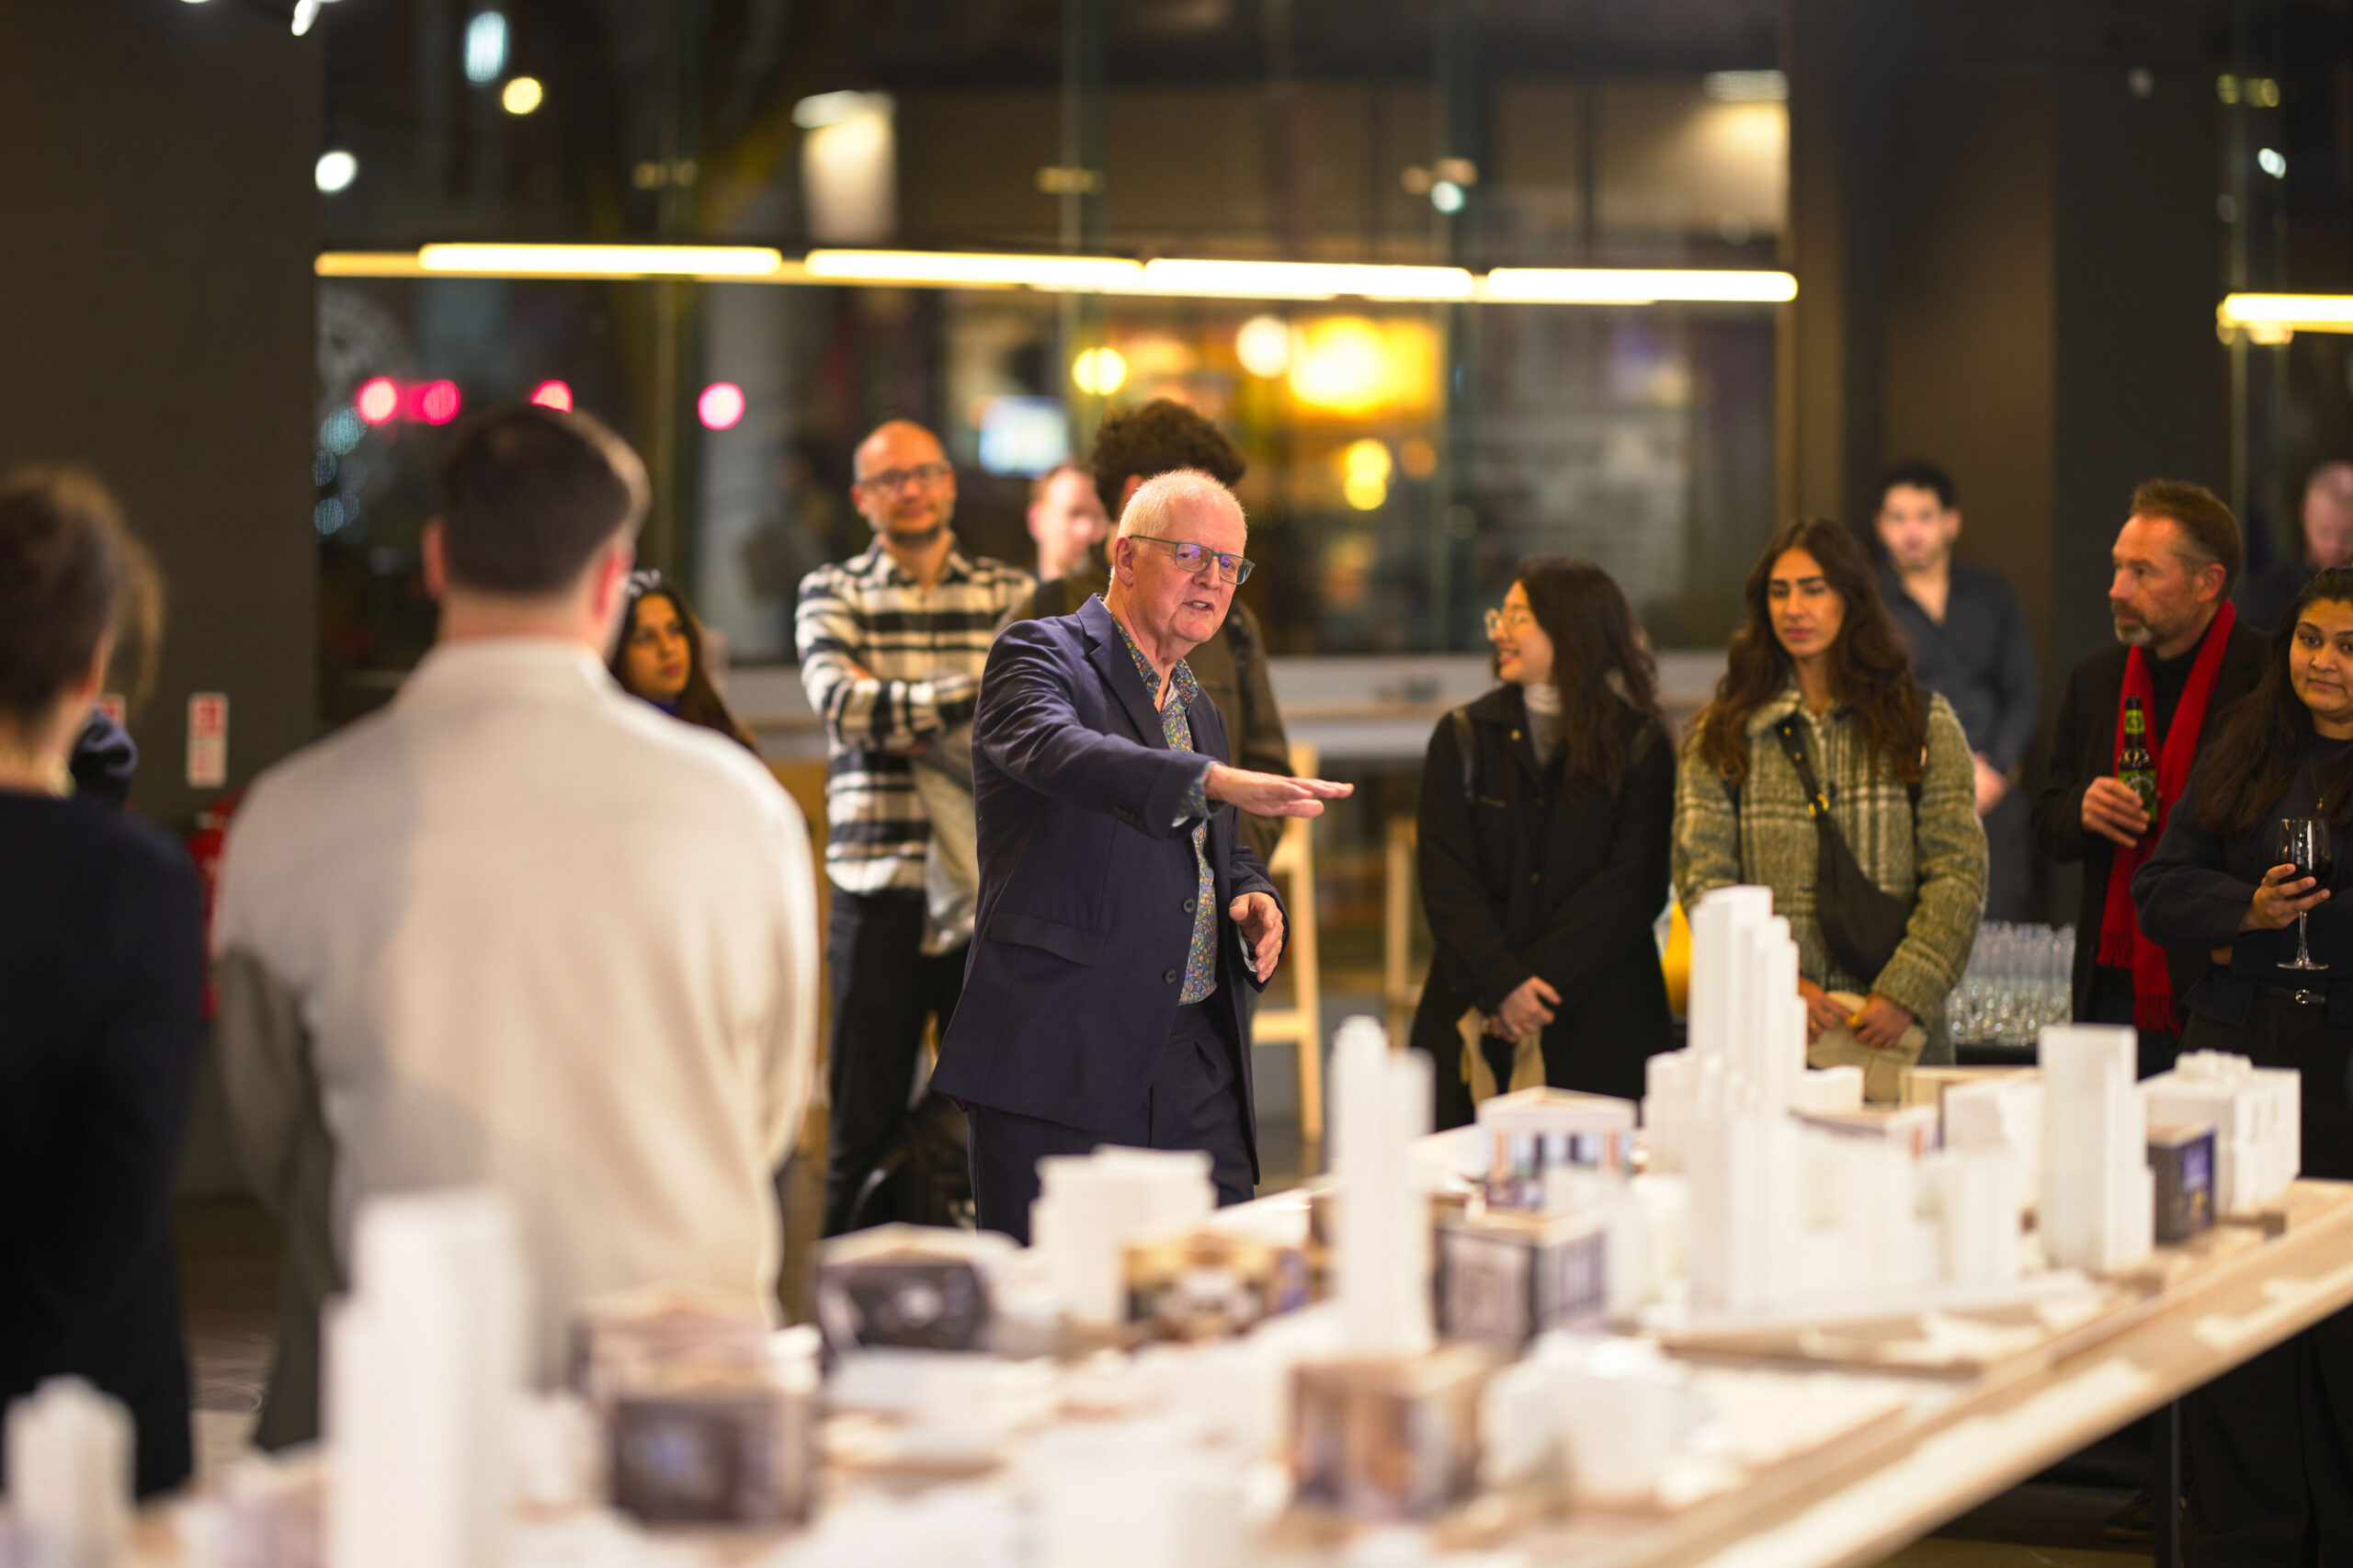
The Madison model was built for Make’s London studio, to showcase the project in a high level of detail. Showcase models are useful as they let a practice communicate the design of a building to clients and colleagues, where many of the working models rarely stay in the office, as they are given to clients or taken to planning and competition meetings.


How did you make it?
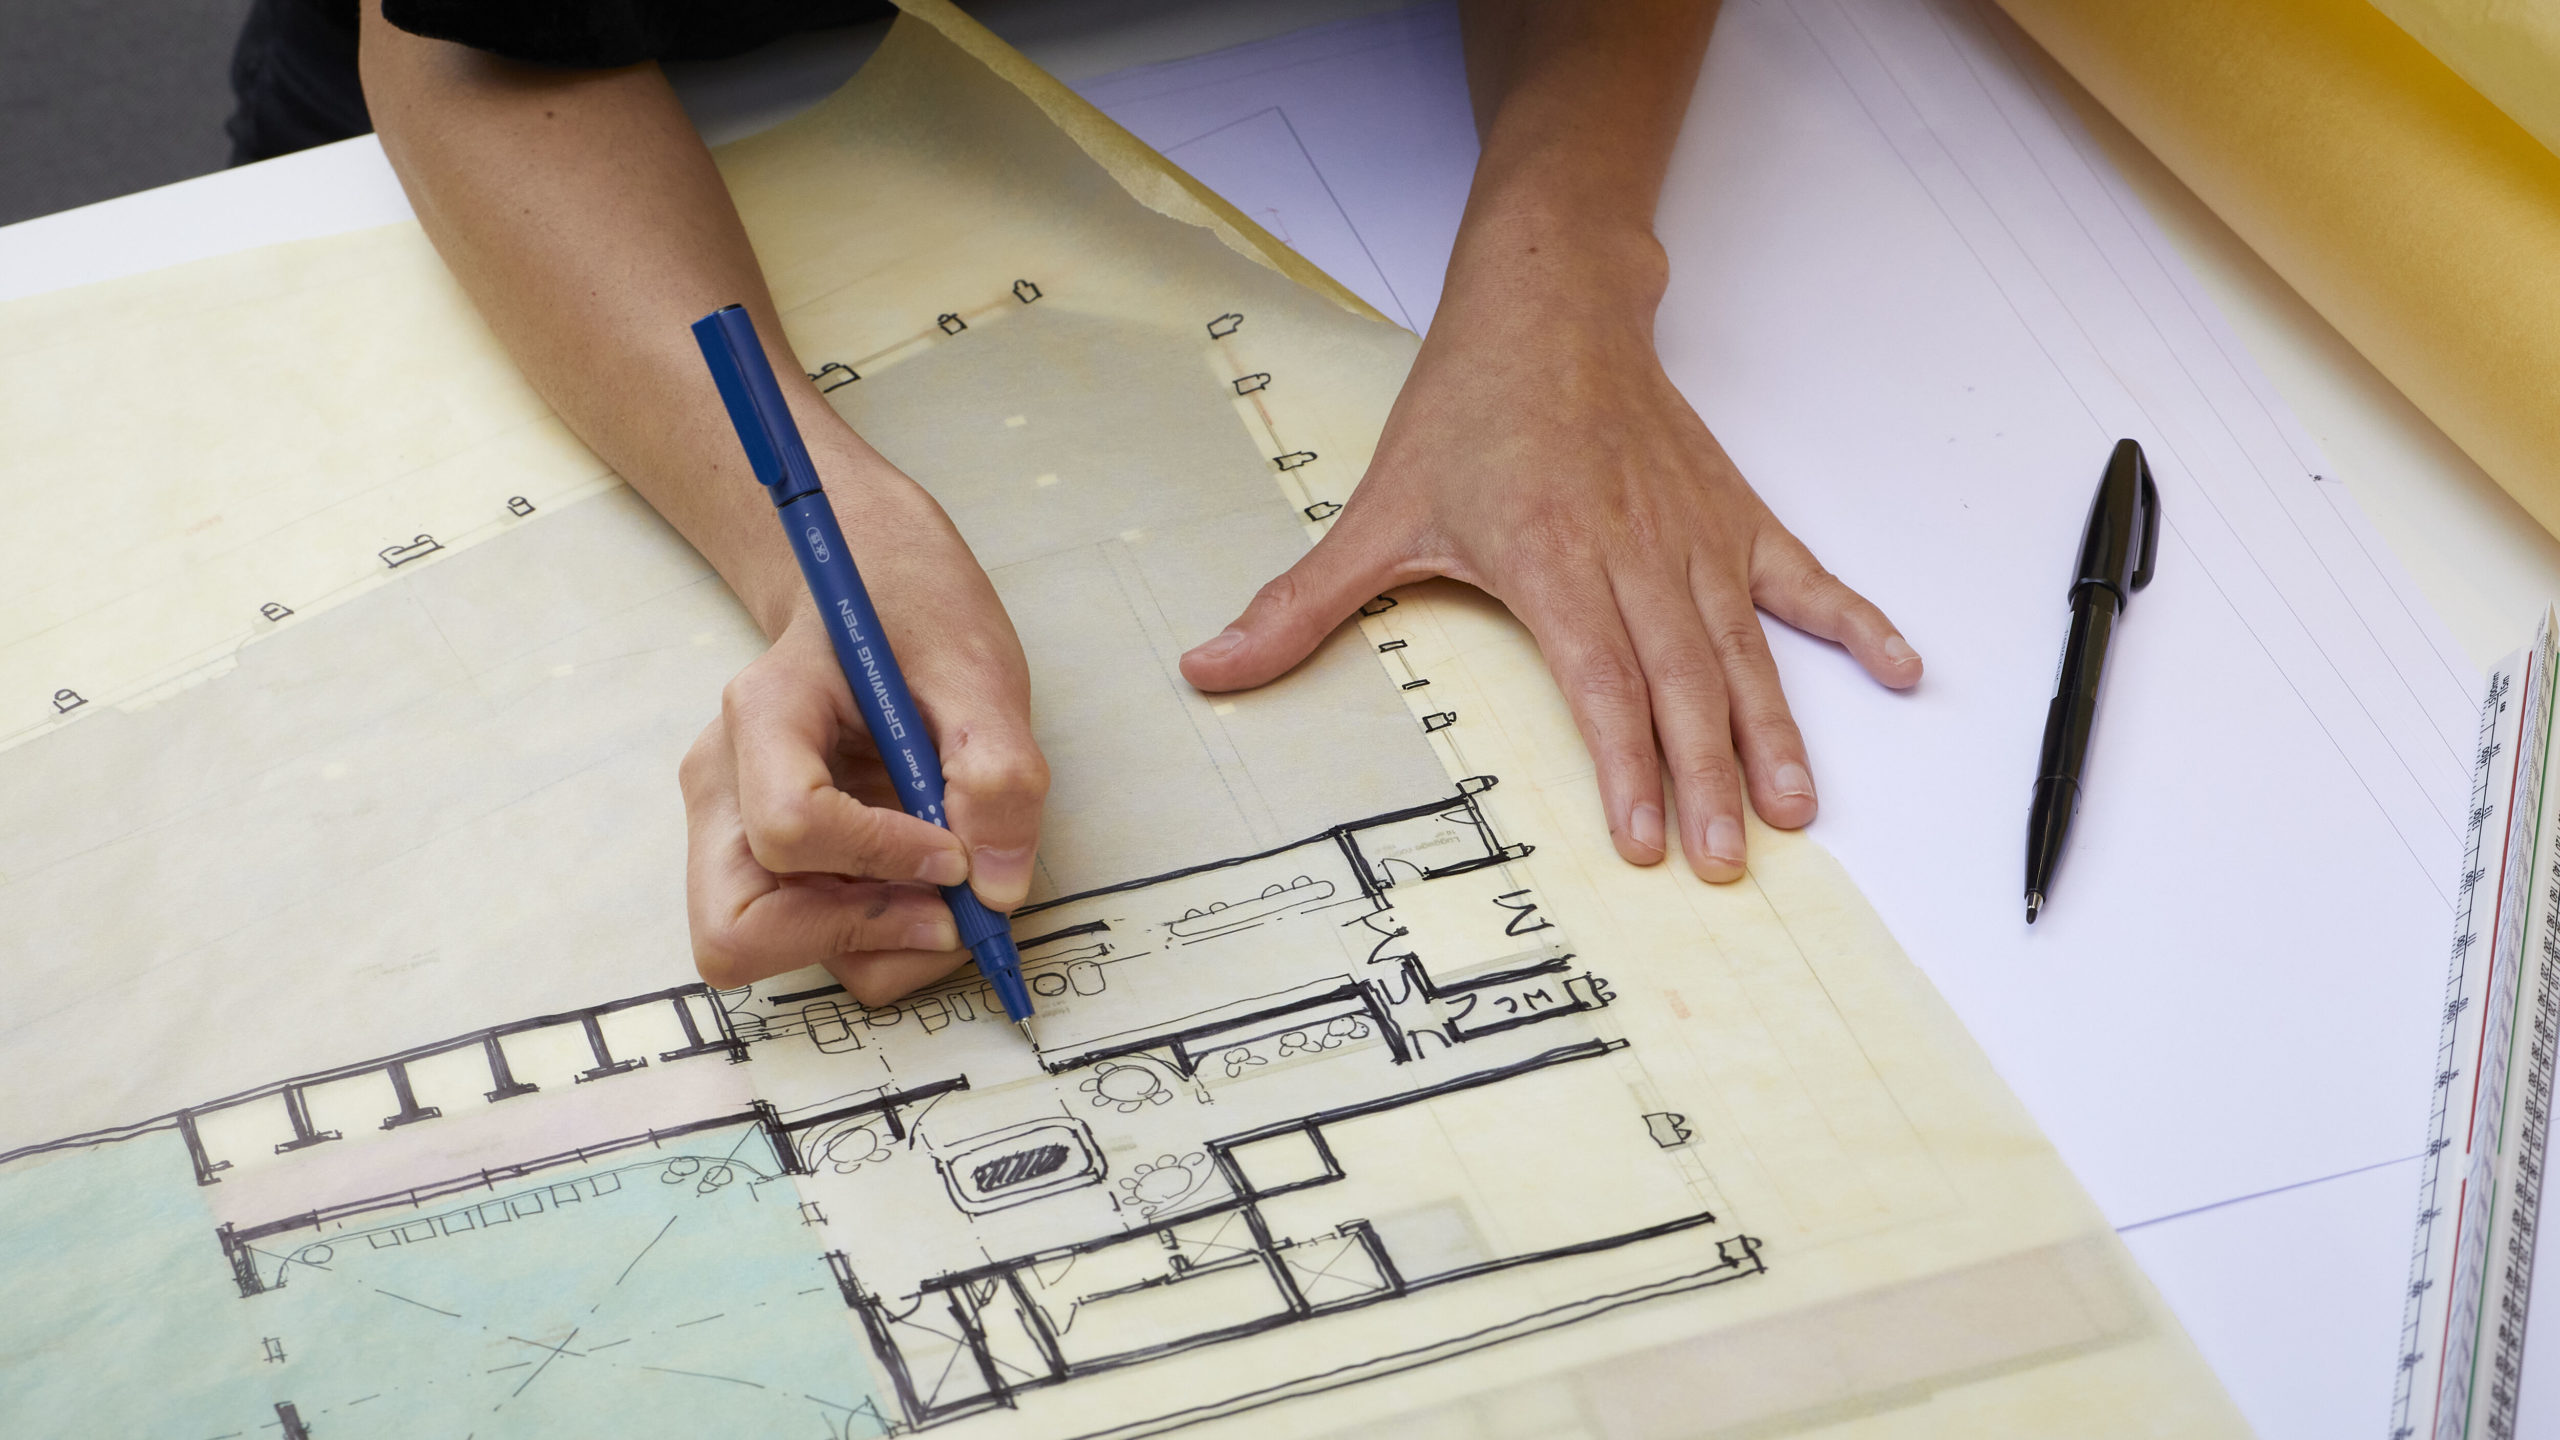
After receiving the files from the architects, I started by choosing a small section of the building that represented what the majority of the model would look like and then went about working out how to construct it, making decisions such as how the floorplates and balconies would be constructed. Once I was happy with how all the different elements could be constructed, I moved on to drawing the design for the whole building in CAD, which took some time.
I started by constructing the base and inner support structure; cladding and painting the base; attaching floorplates to the core; painting and assembling the balconies; painting and assembling the facade; and then finally attaching all the fins to the facade.

Were there any interesting material choices, finishes, details or techniques in construction?
The fins are an interesting detail that clad the whole model. When viewed at a right angle, they create a wave pattern. Because I had the original file from the architects, I managed to make the pattern on the model accurately match the fins on the real building.
What problem solving did you undertake during the design and build? Were there any particular challenges and how did you overcome them?
The biggest challenge with the model was its sheer size, which complicated everything, from moving about the modelshop to how it would hold itself up. The solution for guaranteeing that it wouldn’t fall over, and that it had a strong enough core to hold the floorplates, was to use an aluminium box section to create a slotting mechanism in the base that one long section could be bolted in and would run the entire height of the model.
This post forms part of our #futuremodelmakers campaign to celebrate the work of the 2020 modelmaking graduates.