
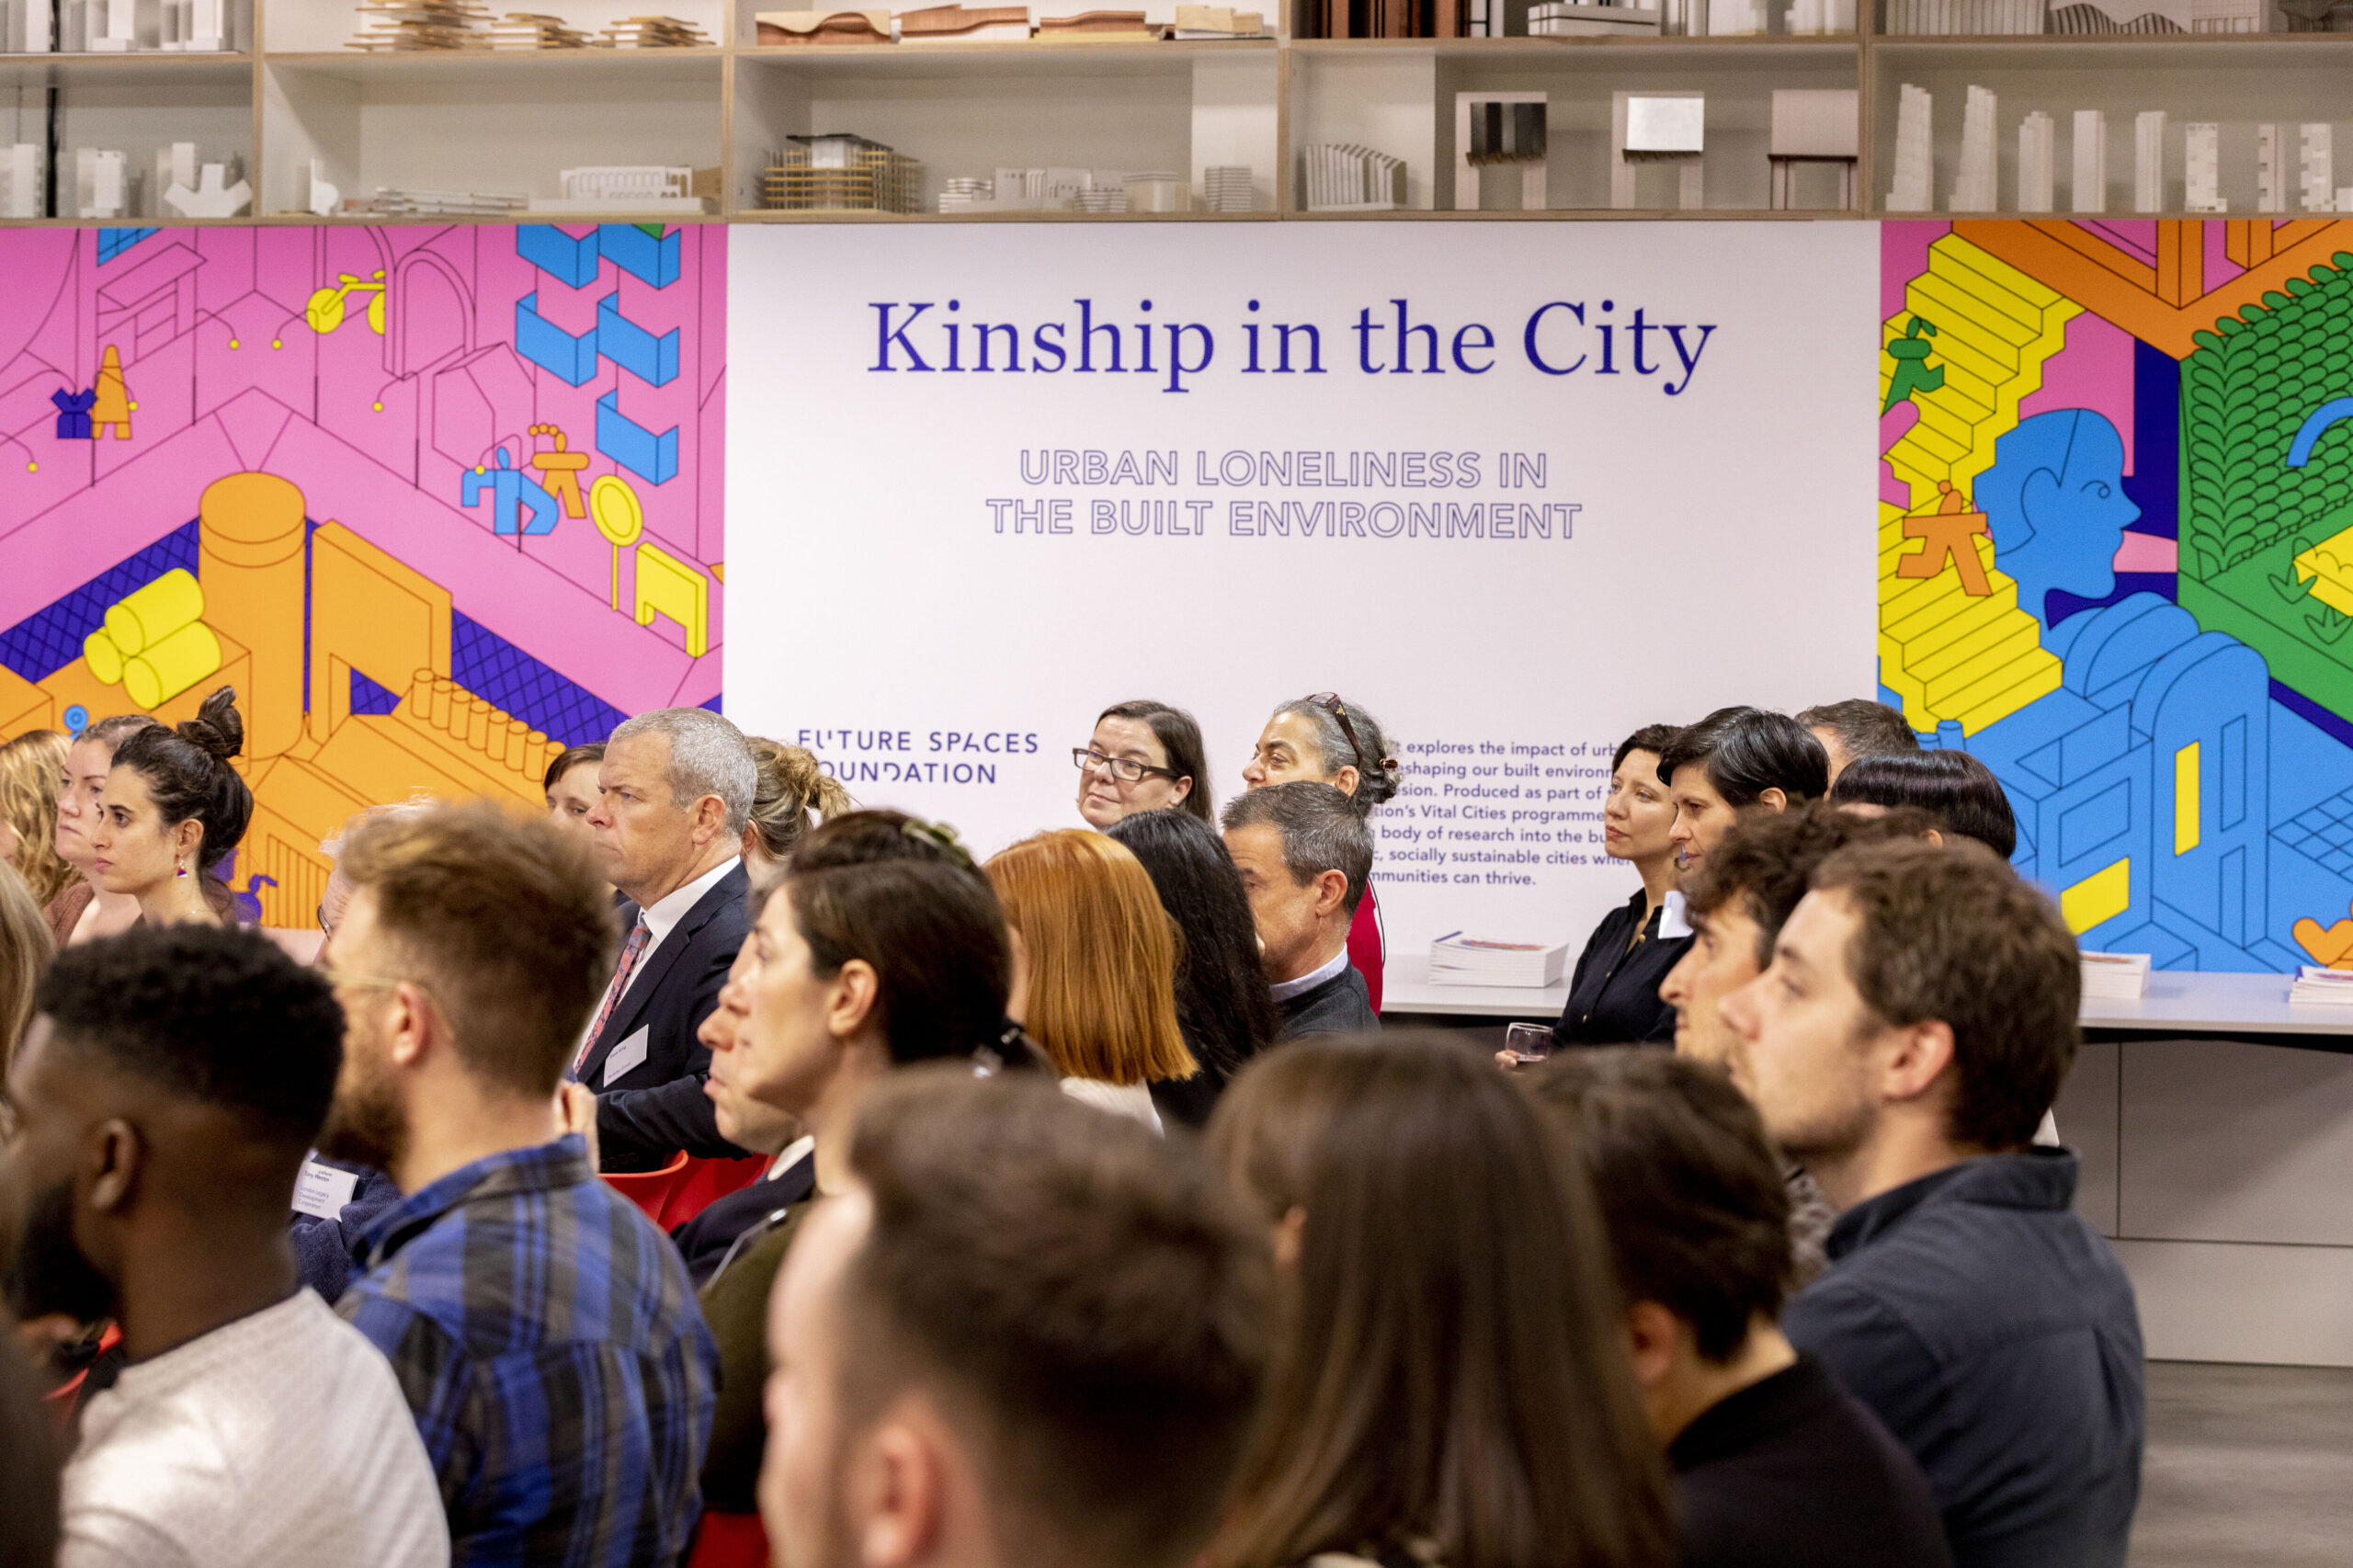


The project
Agora Budapest is a commercial development located on the city’s longest and busiest boulevard. It will provide office space for 12,000 professionals across seven office buildings and retail units totalling more than 100,000m² of lettable area. Public spaces are aplenty – with gardens, trees and grassy paths all centred around a beautiful ‘agora’ that provides a multifunctional focal point for the development.
The two models we’re looking at today for Agora Budapest were made at different stages of the design process, to help convey the massing (1:200) and overall masterplan (1:500).
The massing model
The first of the two, the massing model demonstrates the overall massing design and was used in a key presentation to the client early on in the design process. It was built as a standalone 1:200 scale model on its own mini-baseboard.


The masterplan model
We created the 1:500 masterplan model during the later design phases of the project and used it extensively. It provides an excellent overview of massing, landscape and how the project fits into the surrounding context. We used the model to help discuss and understand changes to the finer details of each block element, the surrounding landscaping, roadways, entryways and interaction with the local subway system.


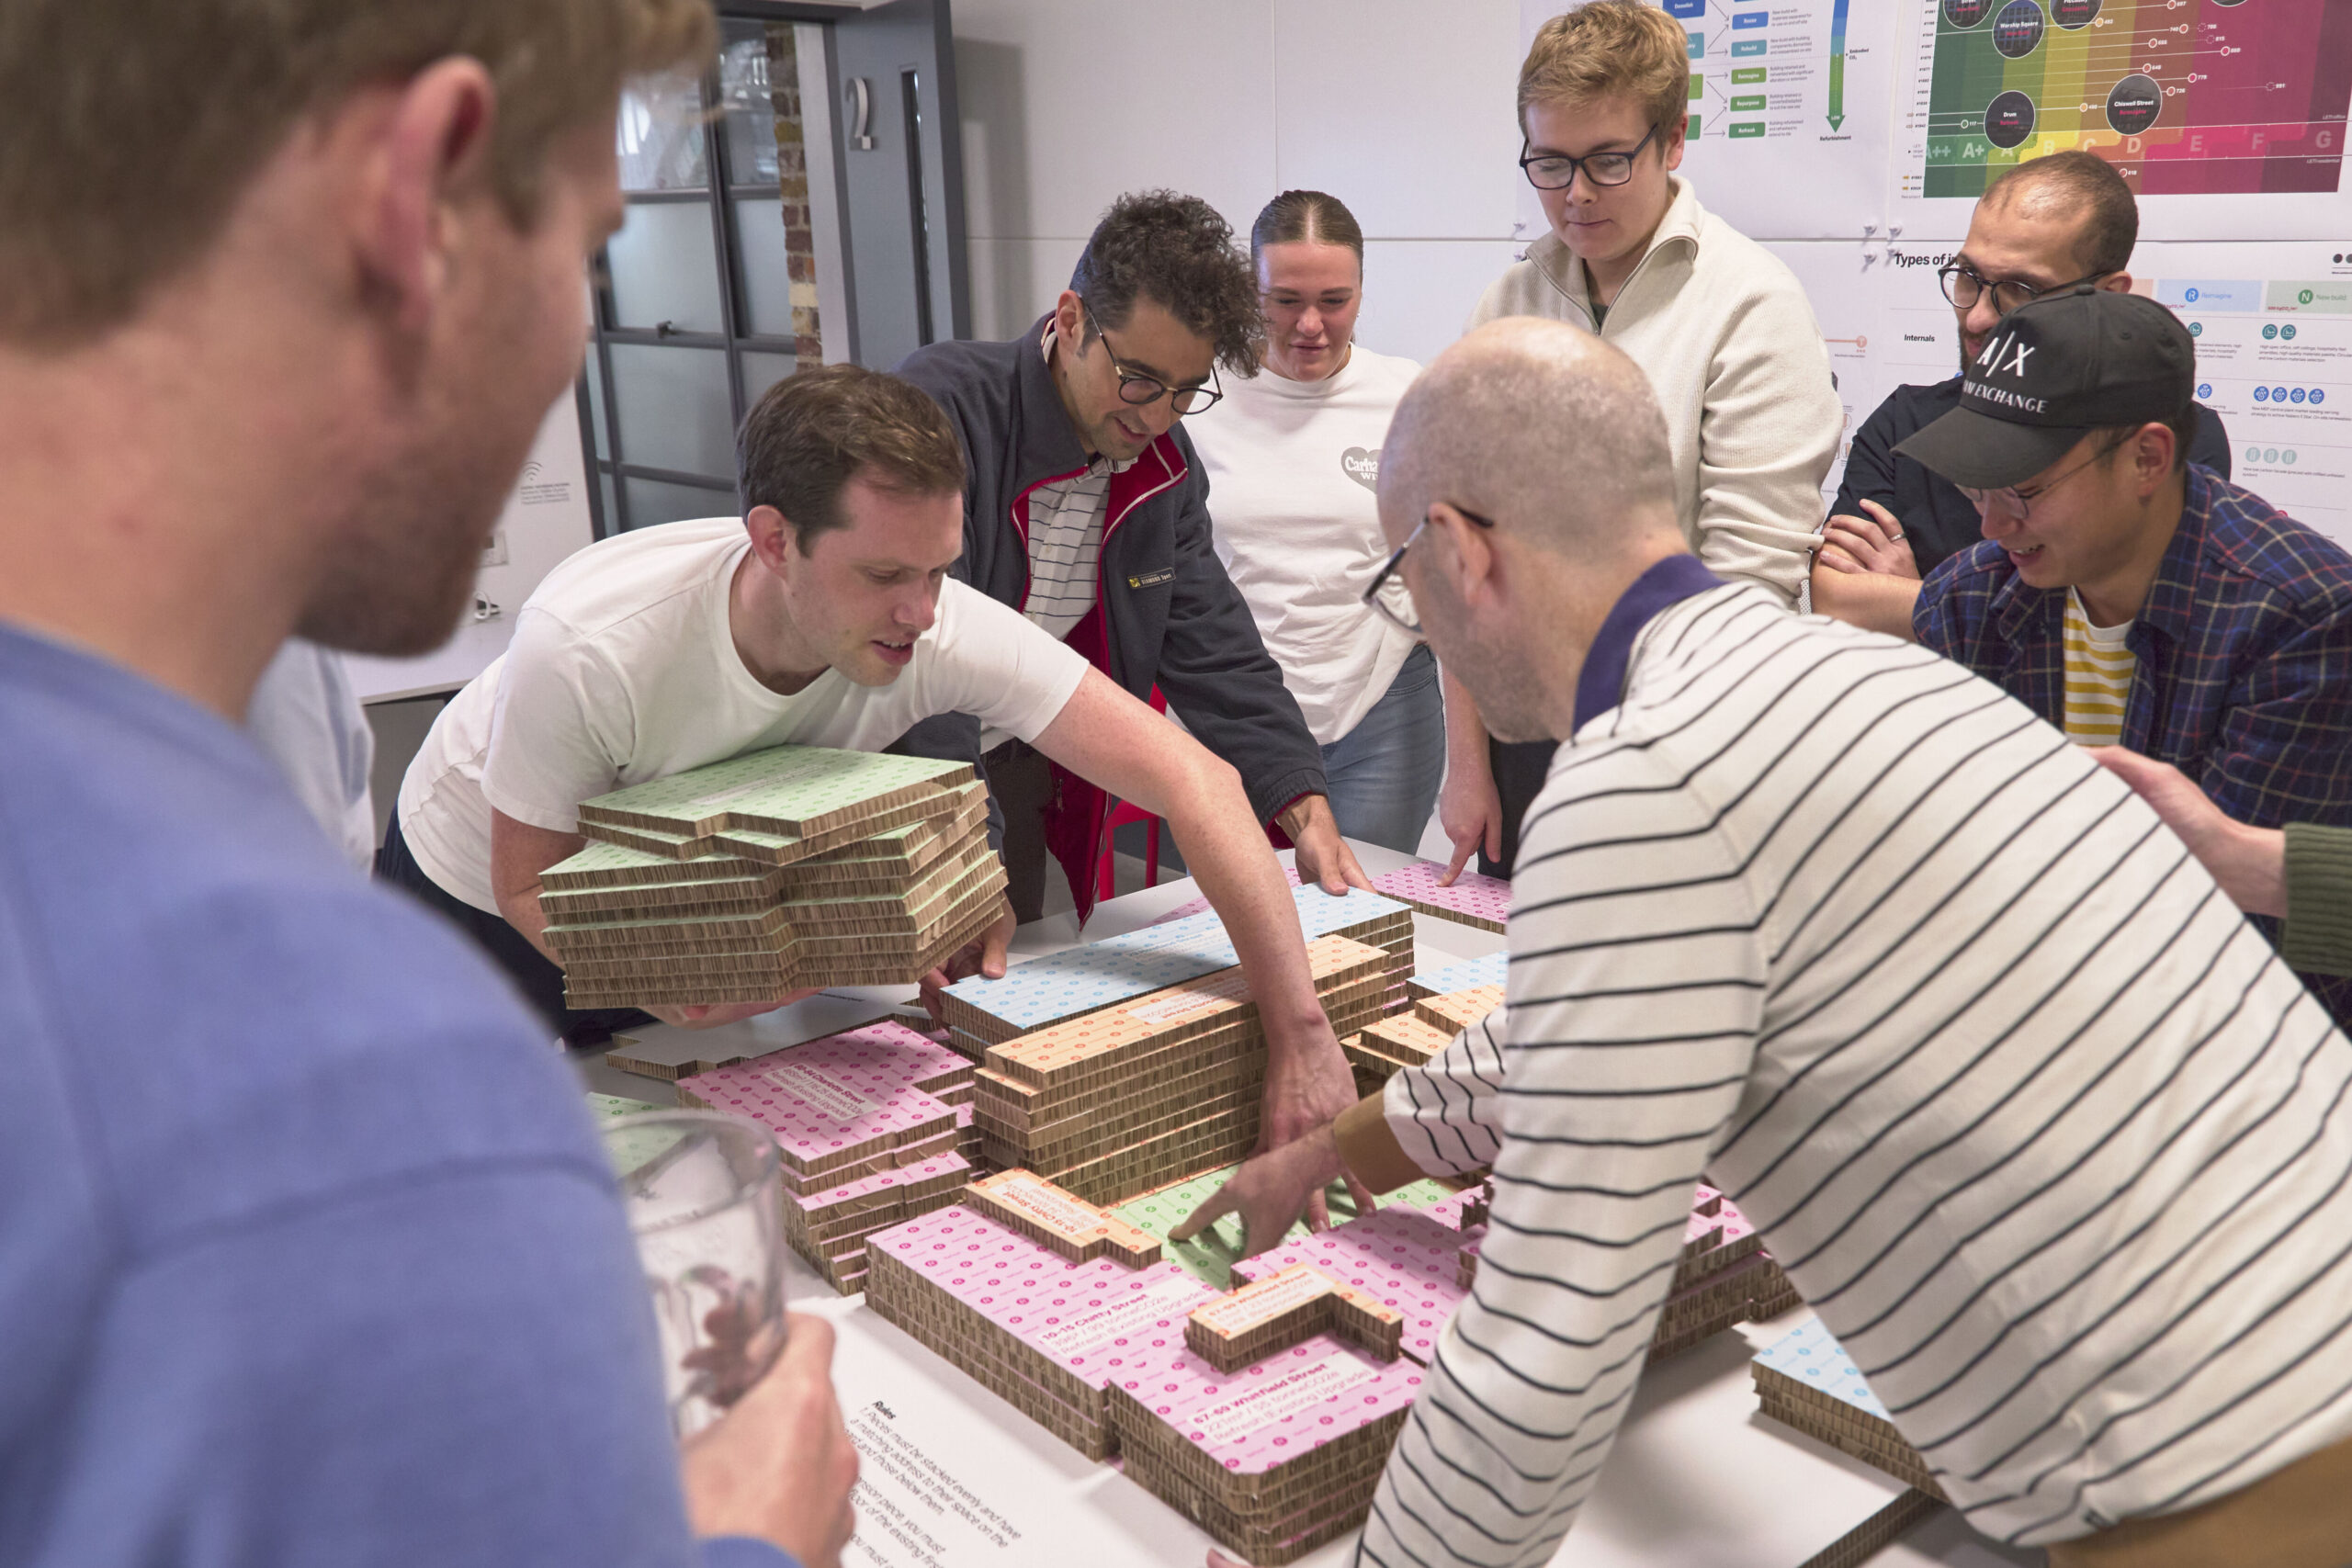
How we made them
We built both models in the same way, starting with a simple foam board carcass for the bases. The site is treated as flat at these scales, so we used a 2D CAD site plan to show only relevant details, such as building outlines and pavement edges. We laser-engraved the 2D data onto a sheet of gloss black acrylic and cut out the outline and holes for any 3D inserts.
The acrylic sheet was then glued onto the carcass, and the base sides were clad in acrylic panels. To bring out the engraved detail on the black base, we wiped some white acrylic paint across it and carefully buffed it off with a soft cloth. The paint that remained in the engraved and scored recesses provides a crisply defined, monochrome impression of the detail.

It’s important to take care with both the thickness of the paint and the buffing. If the paint is too thick or allowed to dry for too long, lots of effort is needed for the cleaning process, with a greater risk of scratching the acrylic sheet.
After painting we added other details to the acrylic sheet – a mirrored part to represent water, sunken areas around the subway station entrance, and ramps for an underground car park. The trees and cars are pretty tiny at this scale, but they’re important in bringing the model to life. Silver cars and simple white trees were used to work with the monochrome palette.

To 3D-print the buildings, we used the BIM models as they stood at the time. After processing them to make them printable, and chopping them into sections so each would fit on a printer, we set several of our Ultimaker 3D printers running. A couple of days later we had a full complement. After cleaning up the prints, we attached each building to the baseboard using strong double-sided tape that would hold them securely in place, but also allow removal or replacement as required in the future.
The result
Despite a fairly straightforward build process, both models are visually striking, thanks to considered material and colour choices. They’ve also proved a very useful design and presentation tool – just watch out for fingerprints on that gloss black!