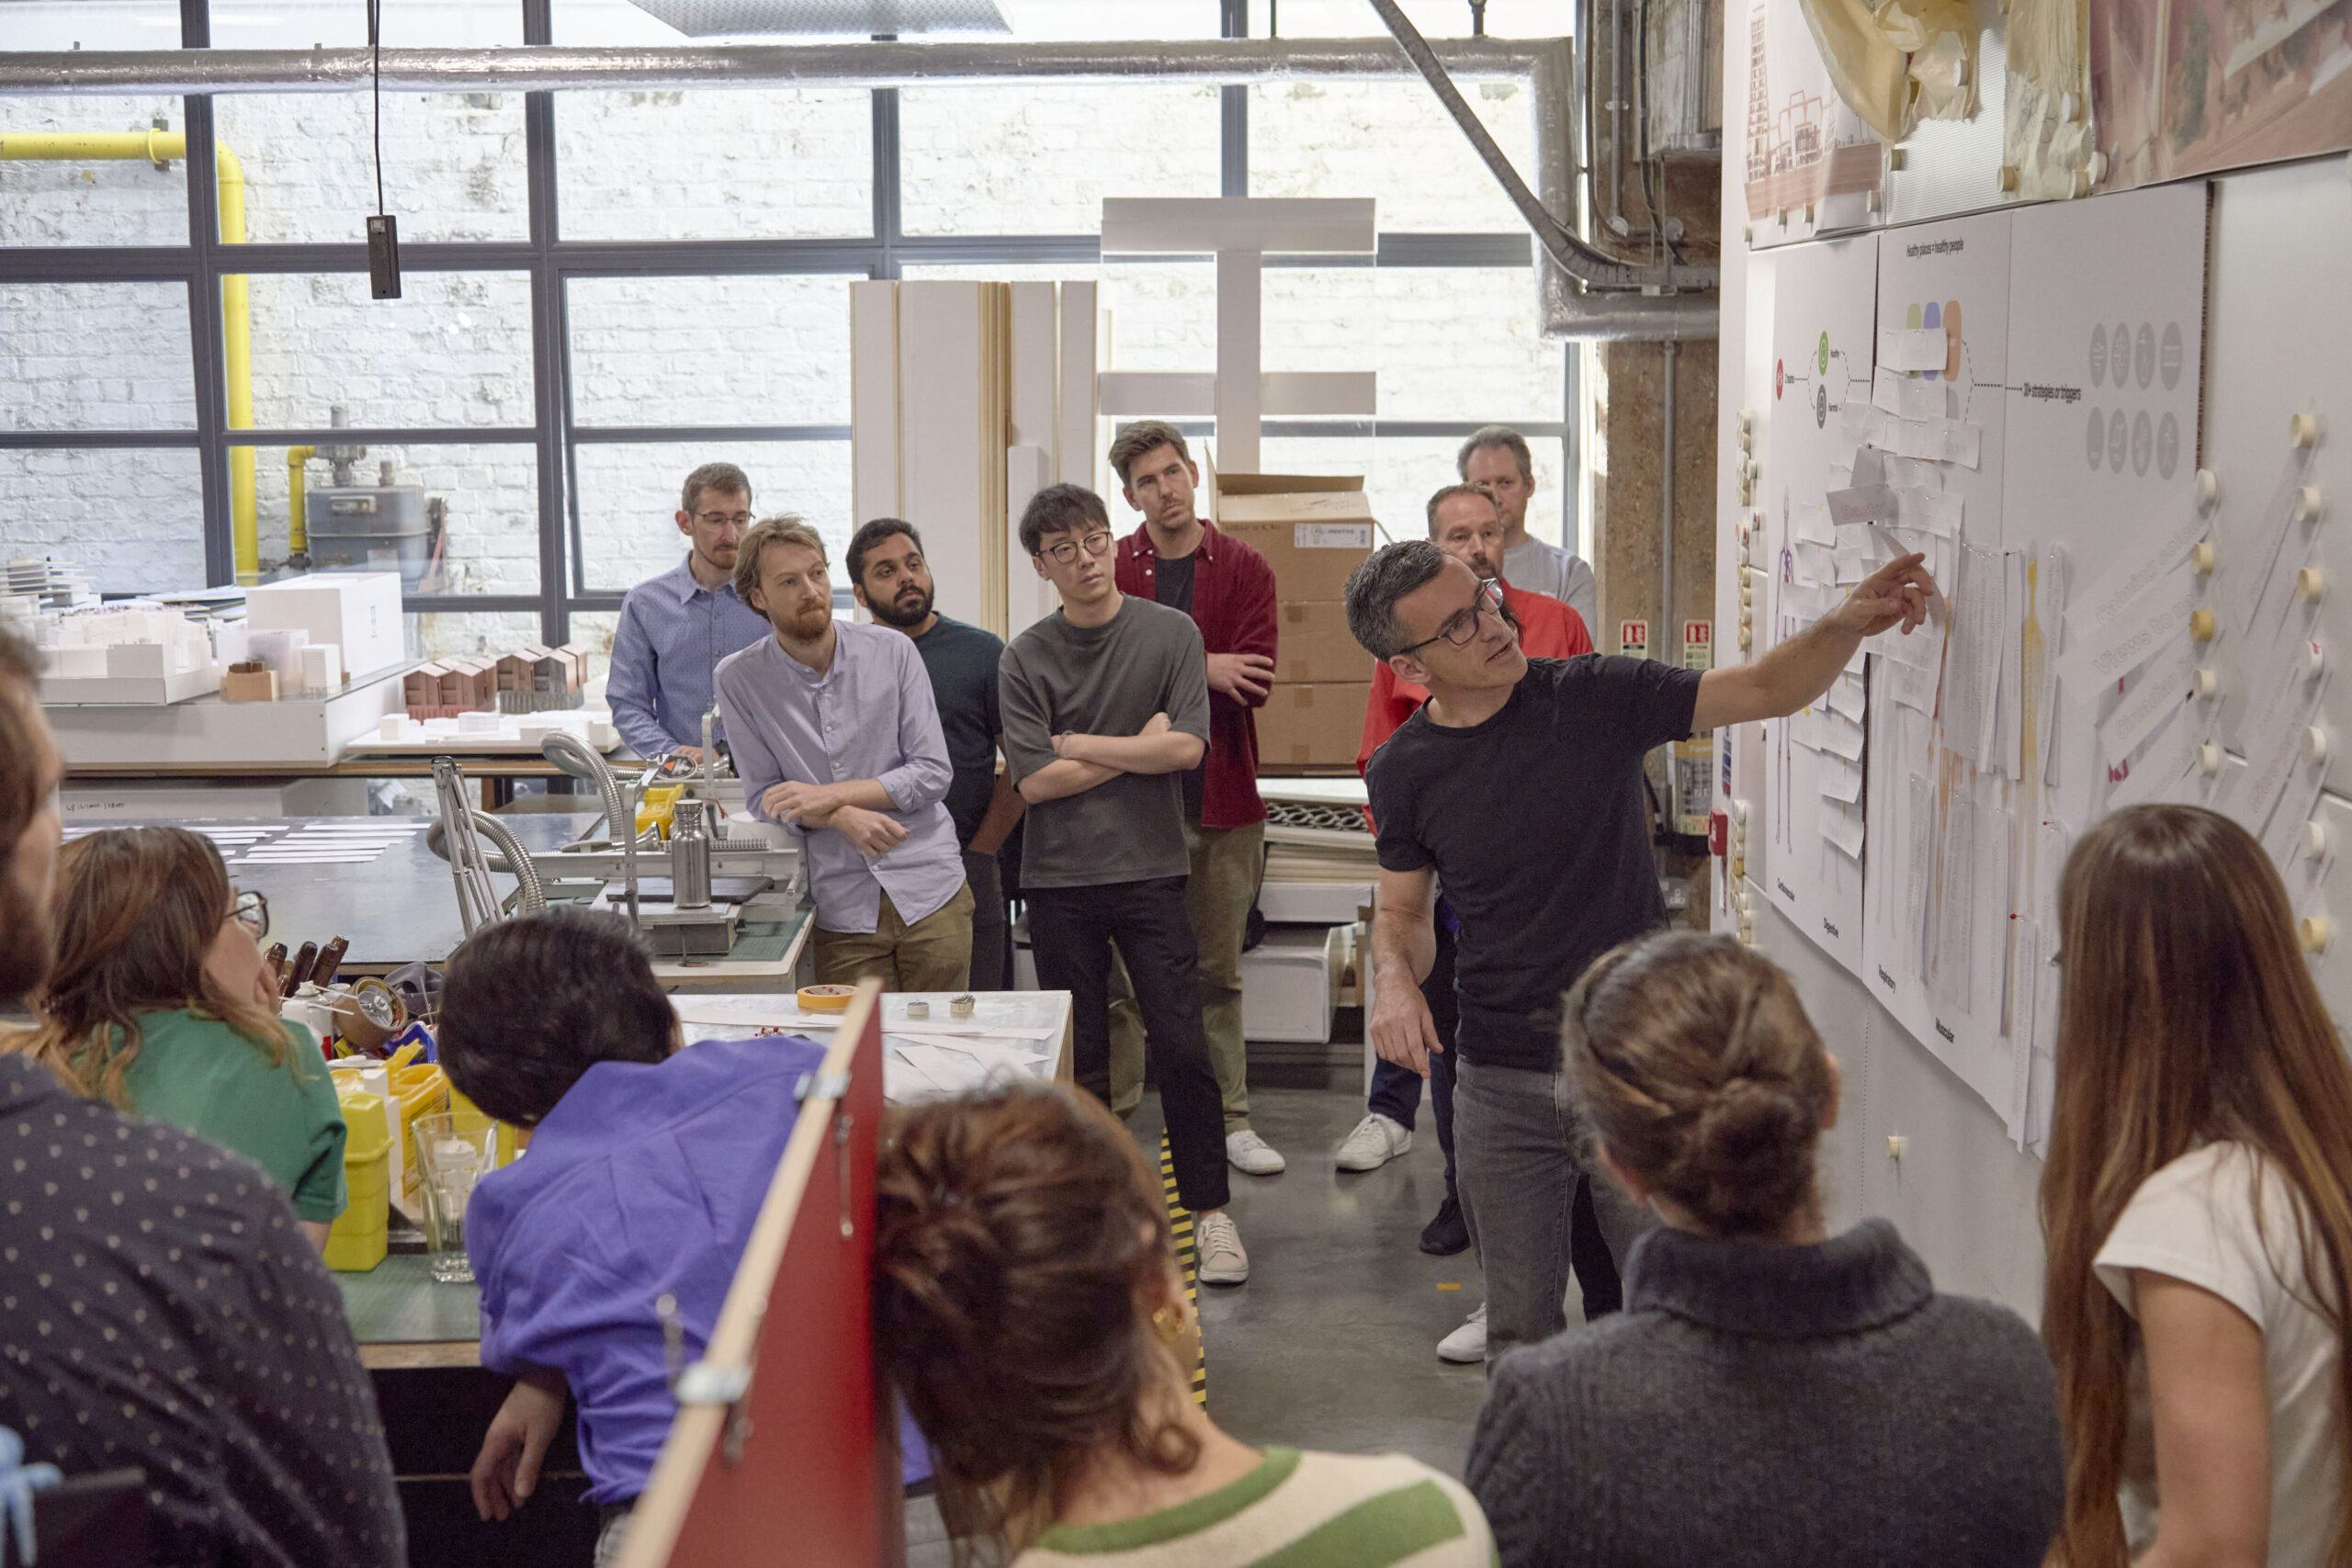
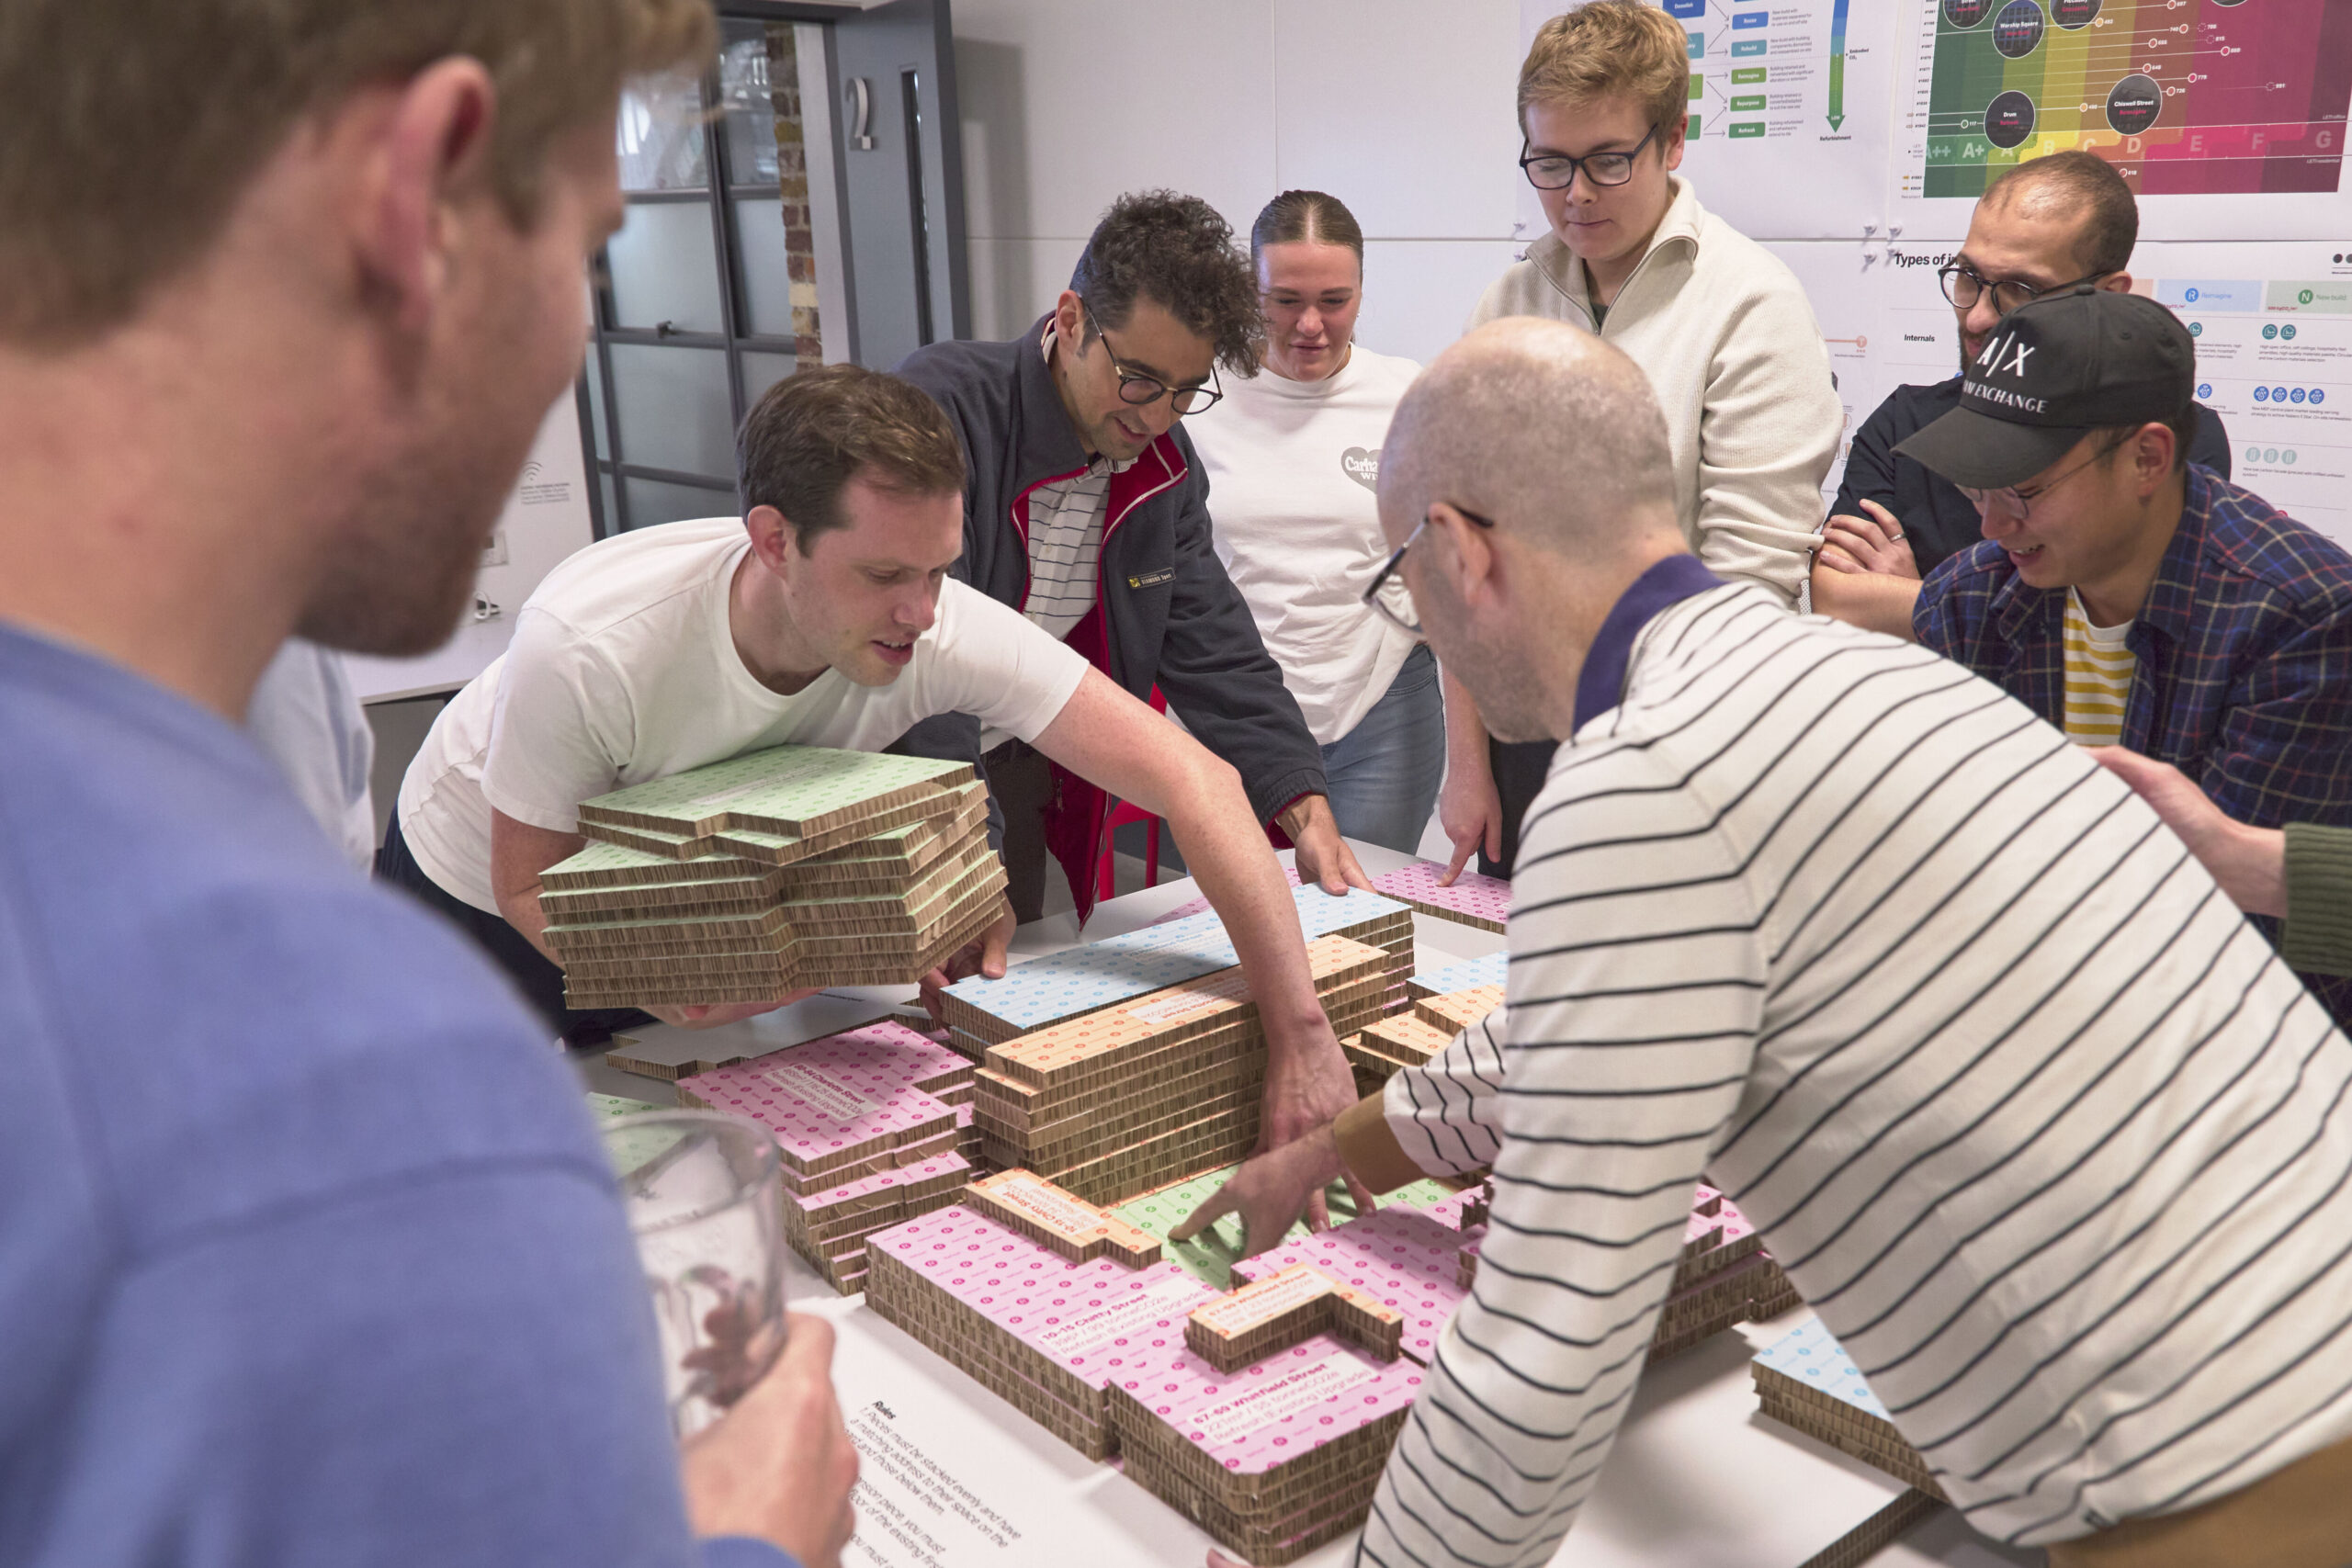


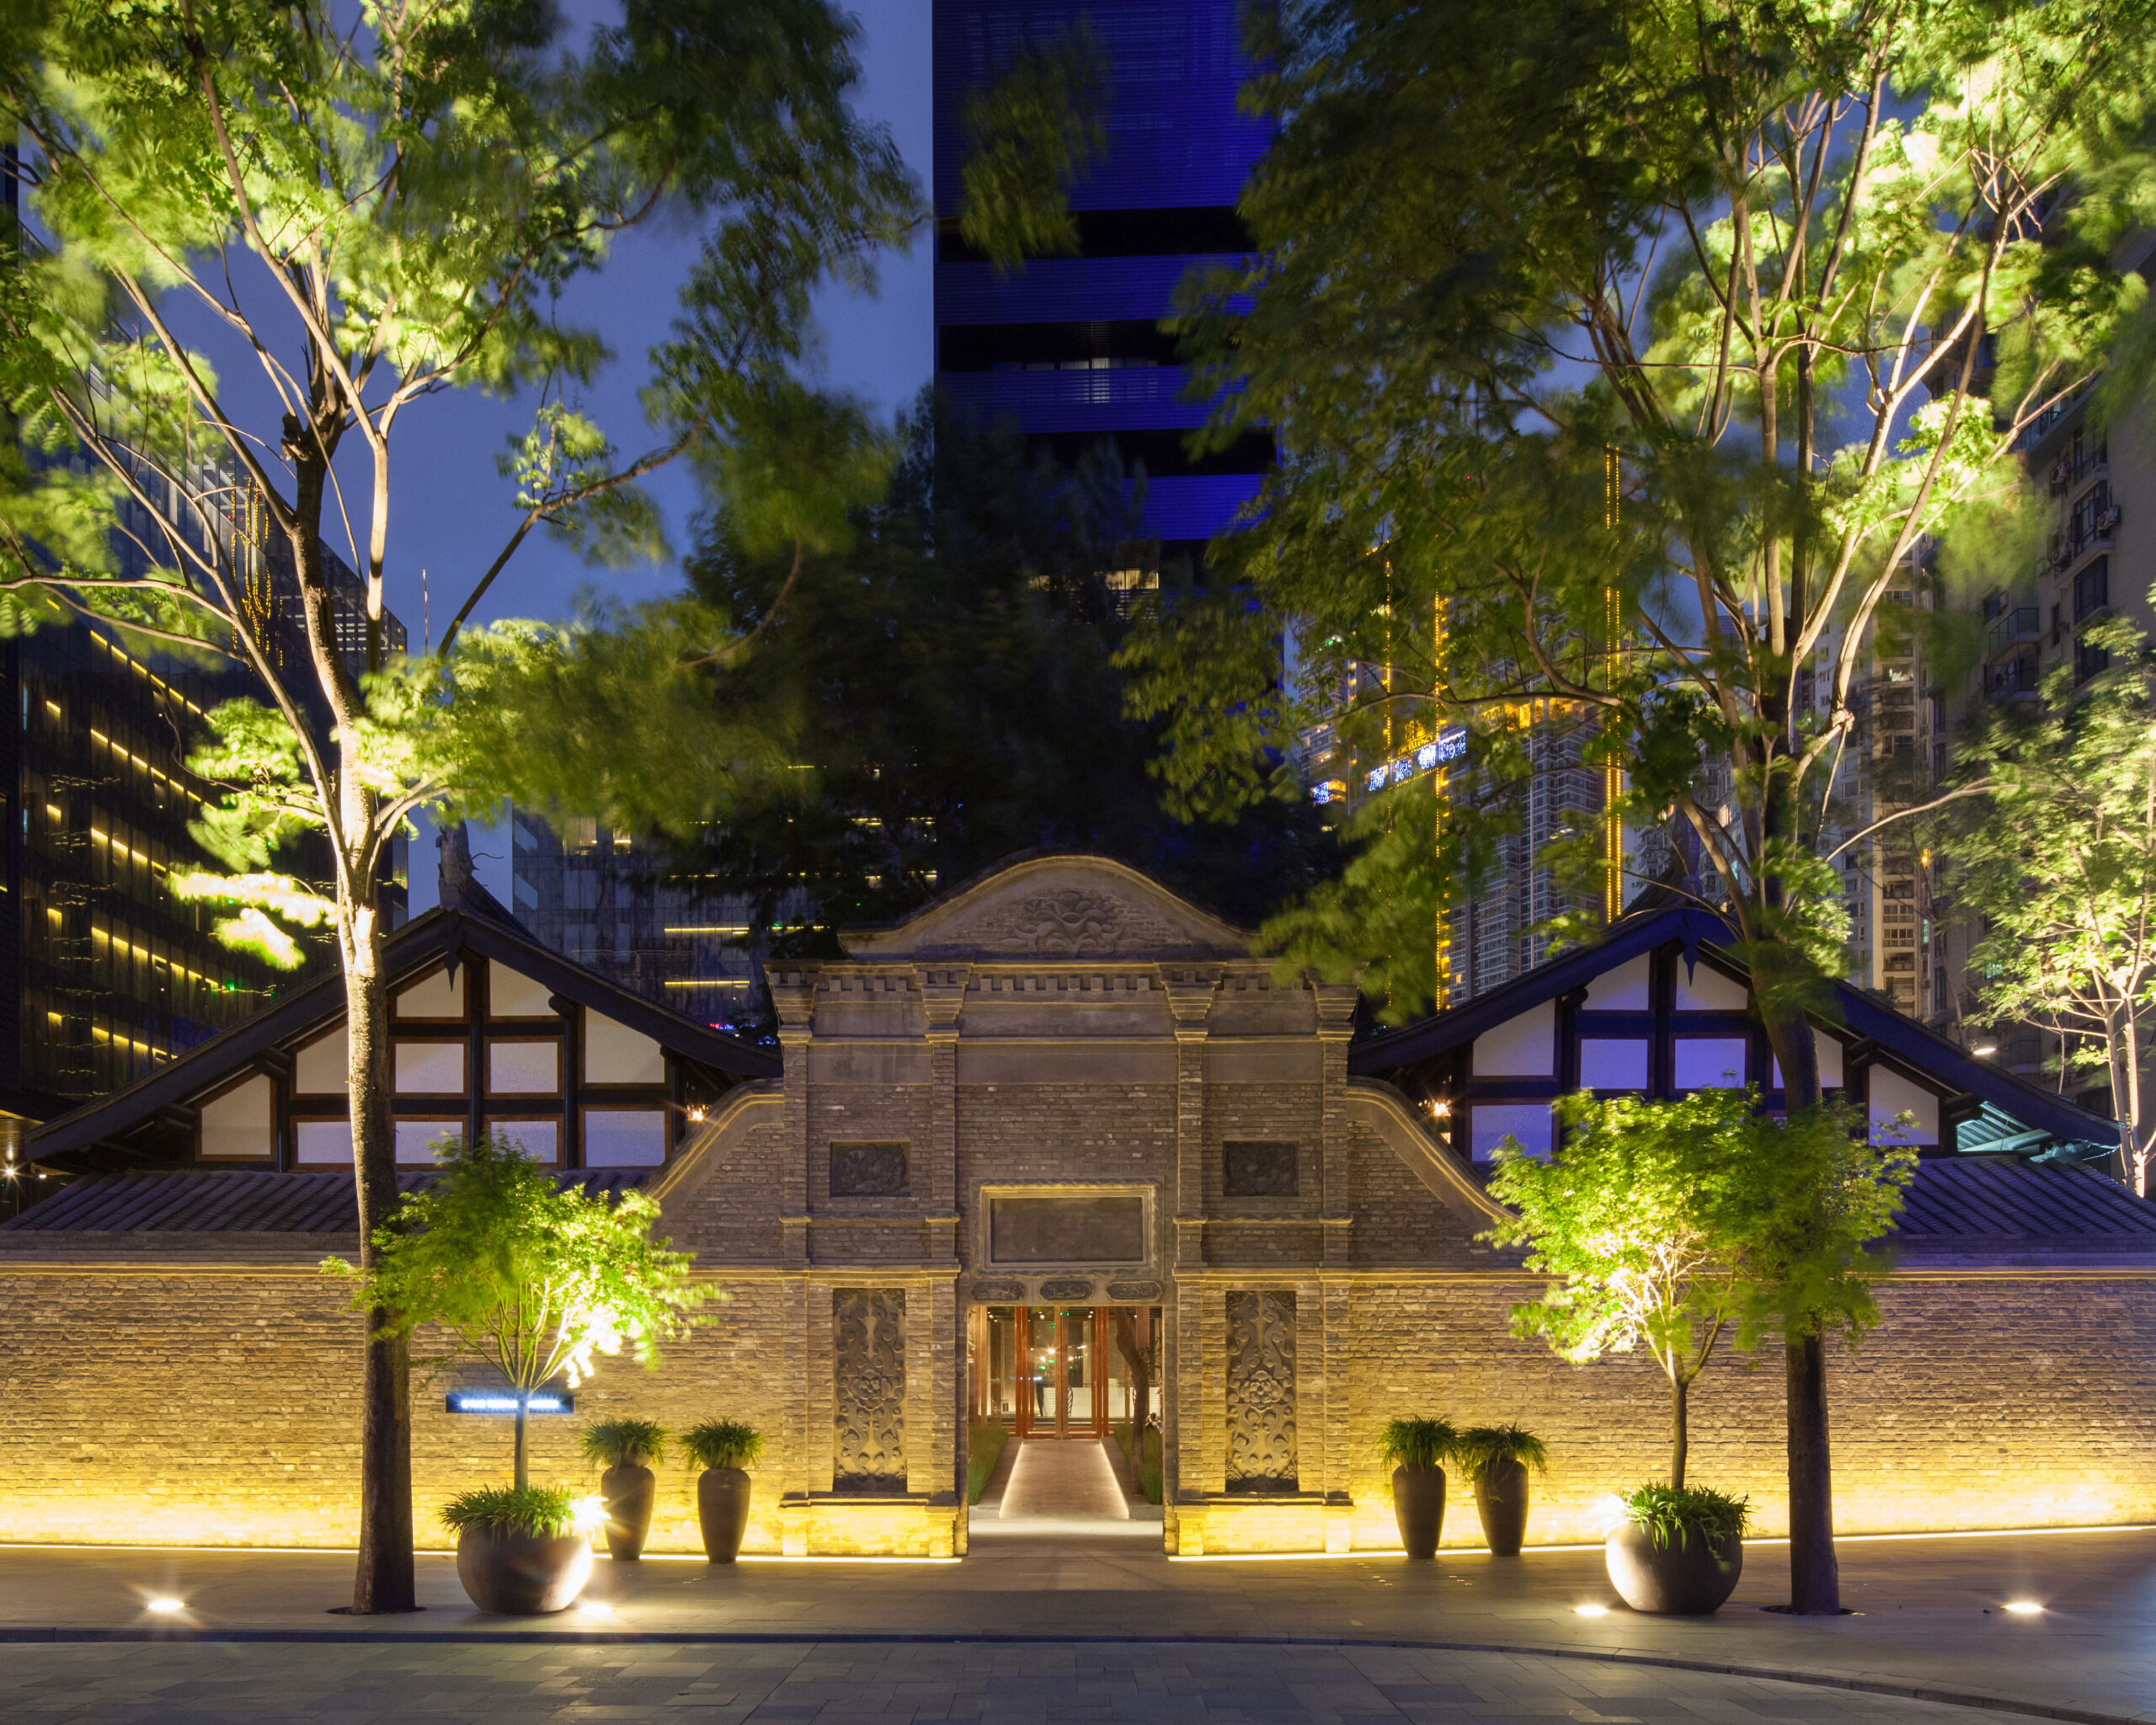


The models
For Ropemaker we made 1:20 and 1:10 scale models for elements such as the ceramic joints, main entrance, stone corners, and the clock at the top of the tower.
We use this scale for making iterative working models – like the ceramic joints – which help isolate and solve particular design problems such as the junctions between different interfaces or various atypical details. The scale is also good for proof-of-concept models – like the main entrance – which show the design is on track and help to get things signed off.

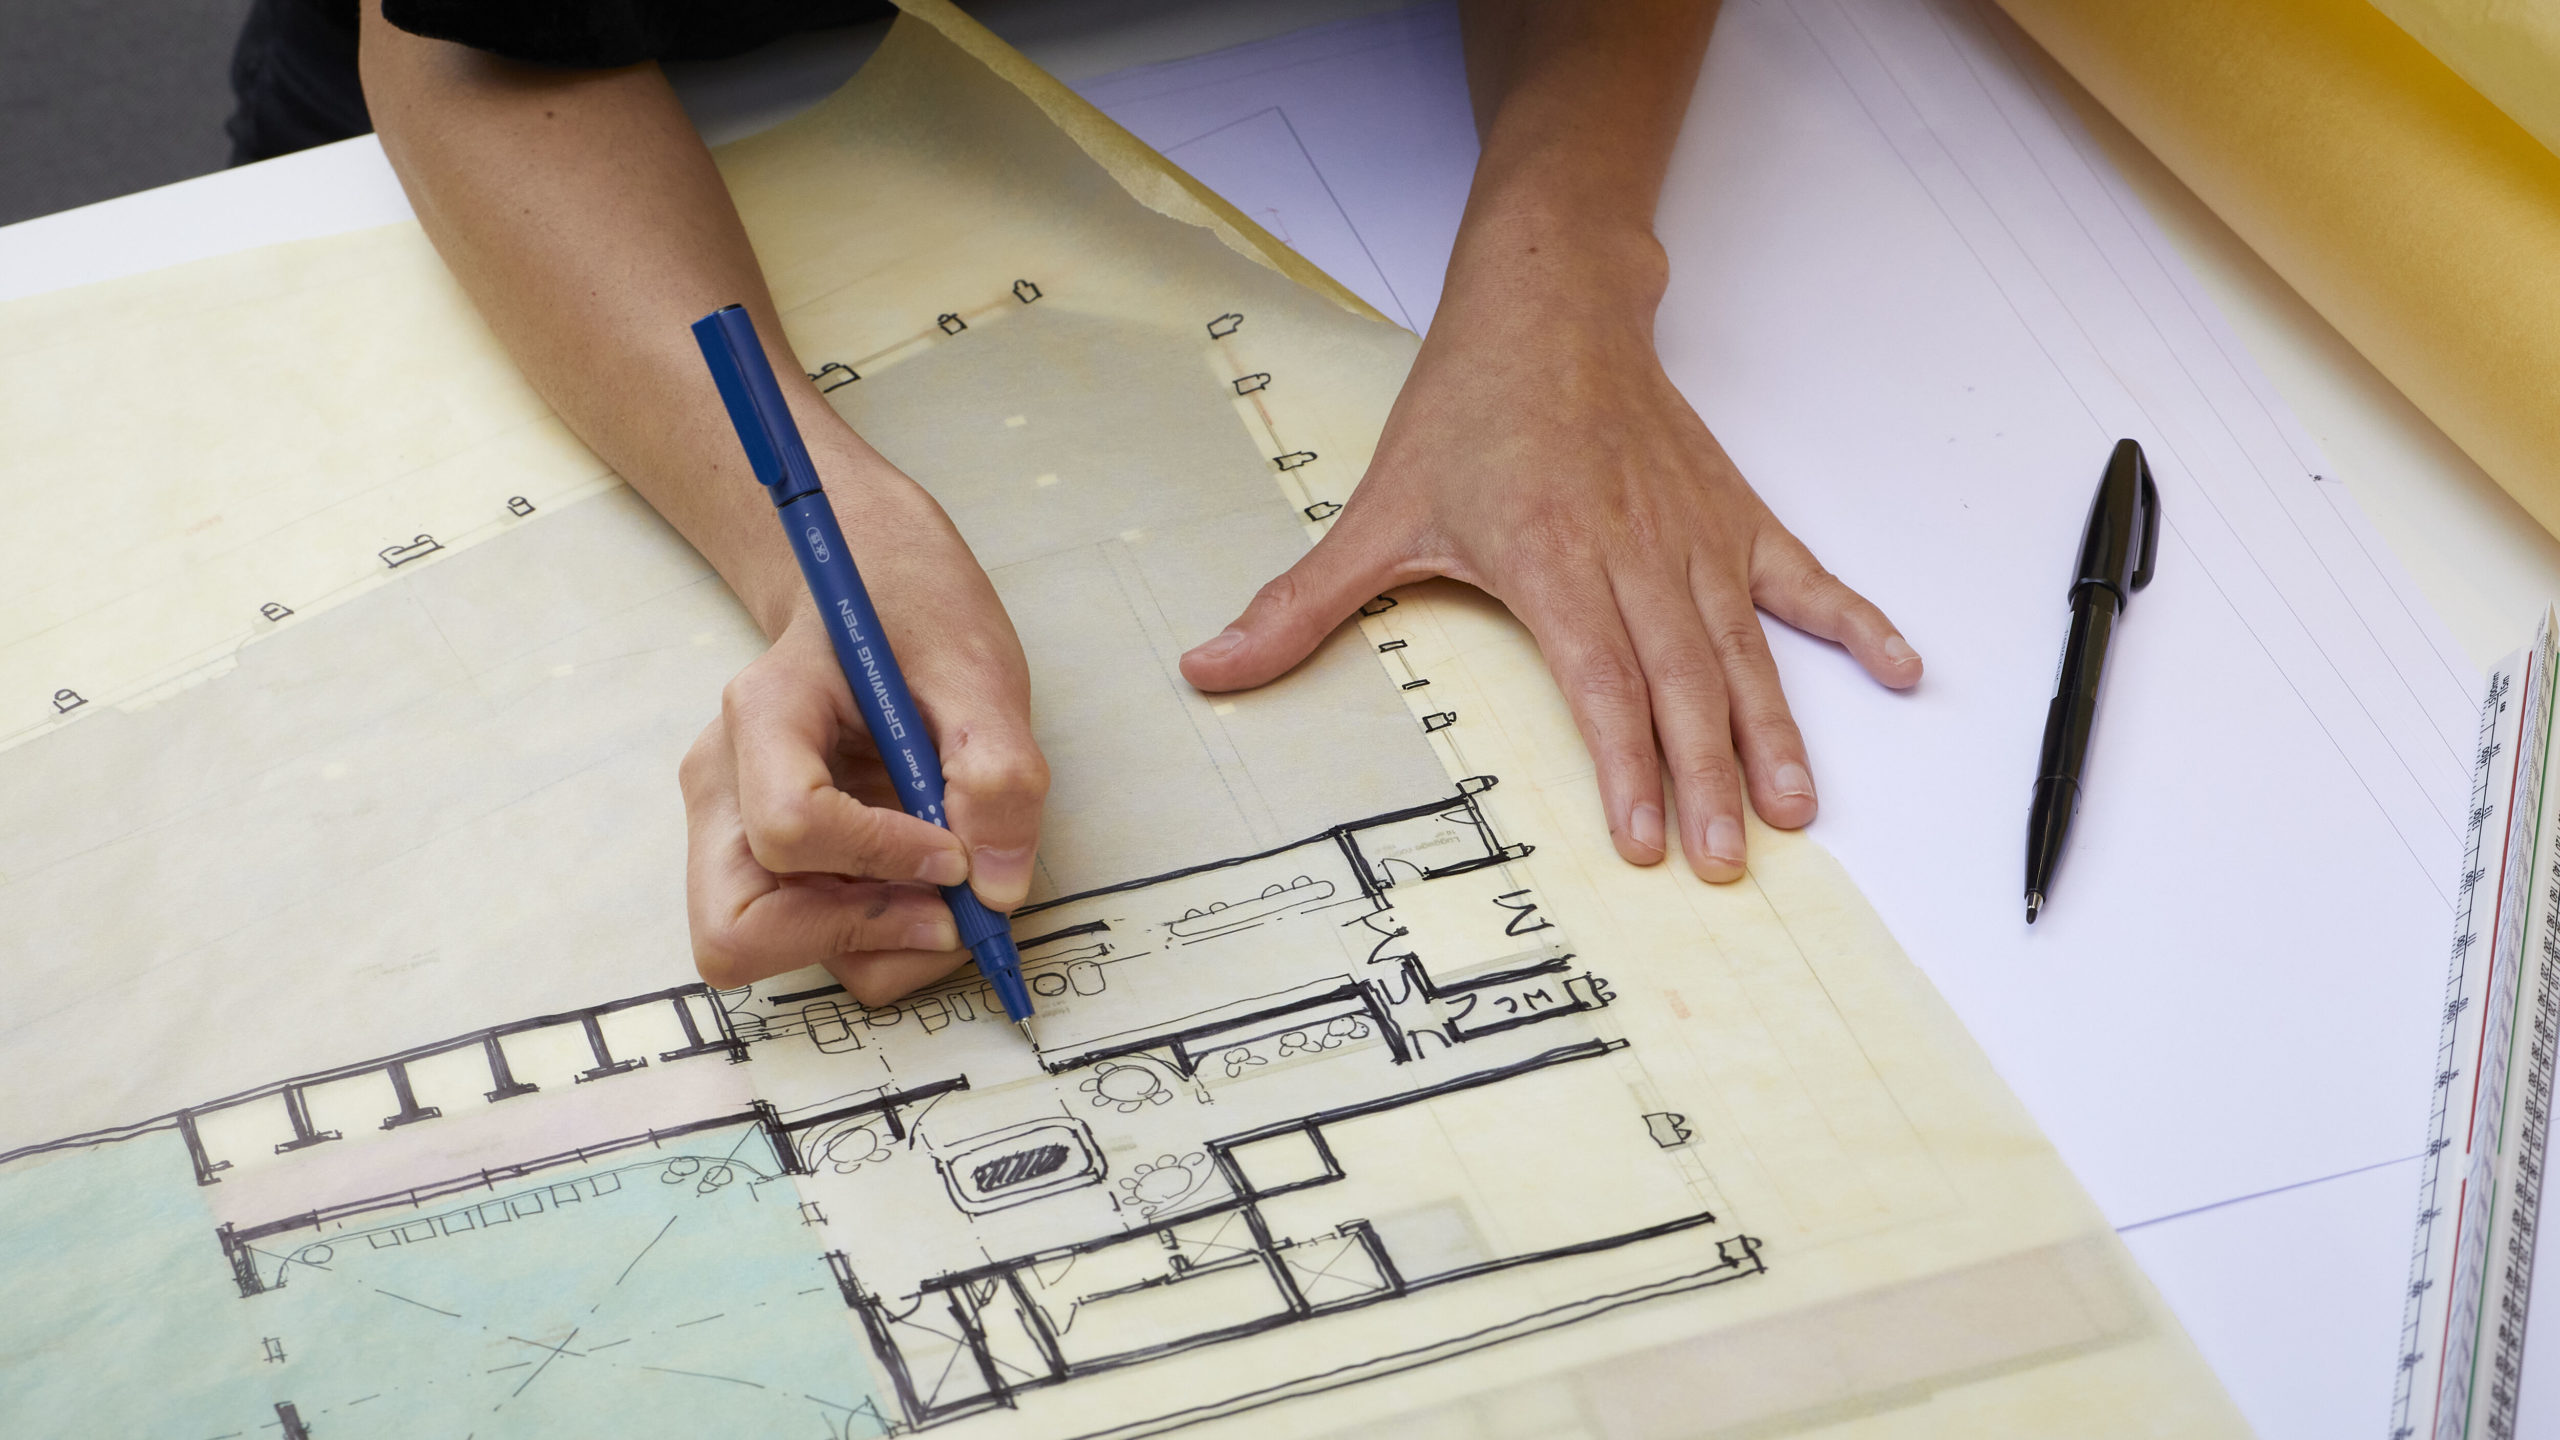
How we made them
Main entrance (1:20)
A clear, 3mm acrylic tube forms the main door and structure of the model; the metal frame supporting the door is made from spray-painted 1mm acrylic adhered to both sides of the tube. (In the actual building, the main door will be formed of individual panels of glazing within the frame.)
For the double-height steel panels curving around either side of the door we used spray-painted 3mm acrylic, heat-bending it around a sub-frame that creates depth between the glazing and the panels. The same is replicated inside the door, where the slotted panels allow for ventilation. Also inside the door is a ring-shaped hanging light, made with sprayed acrylic and hung with piano wire. The rest of the glazing and framing – including the single door to the left of the main door – is all made from 1mm acrylic.

Outside, each of the four limestone-clad columns is made with four individual panels of laser-cut acrylic, and clad in different-sized panels of 1mm clear acrylic. This extra layer helps create the panelisation lines and recesses of the cladding design. We sprayed all four columns with a specially mixed paint to match the ‘crème royal’ stone.
The granite entrance flooring is made with 3mm acrylic, engraved and lasered to show the surface pattern and sprayed with a special mix of dark grey paint. For the pavement and road, we used a special setting on the spray gun to achieve the speckled effect.

Ceramic joints (1:10)
These sectional models represent the corner details of the ceramic facades where the vertical spandrels converge with the parapet. We began making models of them as they were too complex to explain using a digital model. Initially we were 3D-printing 1:50 models, but found they didn’t pick up the detail well enough, so we switched to 1:10. Because we’d be making 5-10 different iterations at a time, we modelled them in Rhino, which is simpler than Revit.
We printed and joined all the joint panels individually, fixing each finished joint back to a sub-frame structure, which is how they will be constructed on site. The model sub-frame structure is made of interlocking laser-cut acrylic components, while the real one will be aluminium. Using acrylic like this allows us to show the inside detail, rather than having a monolithic print where the facade and structure are a single unit.
Each new model informed the next, and we realised how useful they were at illustrating the design development, particularly to the clients. It was at this point that we decided to get the colour right, as the actual panels will be dual-glazed in an ‘anthracite bronze’ shade. To achieve this, we used a mix of custom car paint – the kind used for hot rods and race cars – and different lacquers to match the colour, depth and reflectiveness of the actual glazing.
The heightened realism of these models went far beyond what we’d achieved with the 1:50 models, and they set the precedent for how we’ve made other 1:10 models on this project.

