Client University of Nottingham
Scale 1:150
Dimensions 580mm x 400mm x 205mm
Time to make 8 weeks
Materials Basswood, lime veneer, MDF, acrylic, 3D-printed parts
Modelmaker James Picot
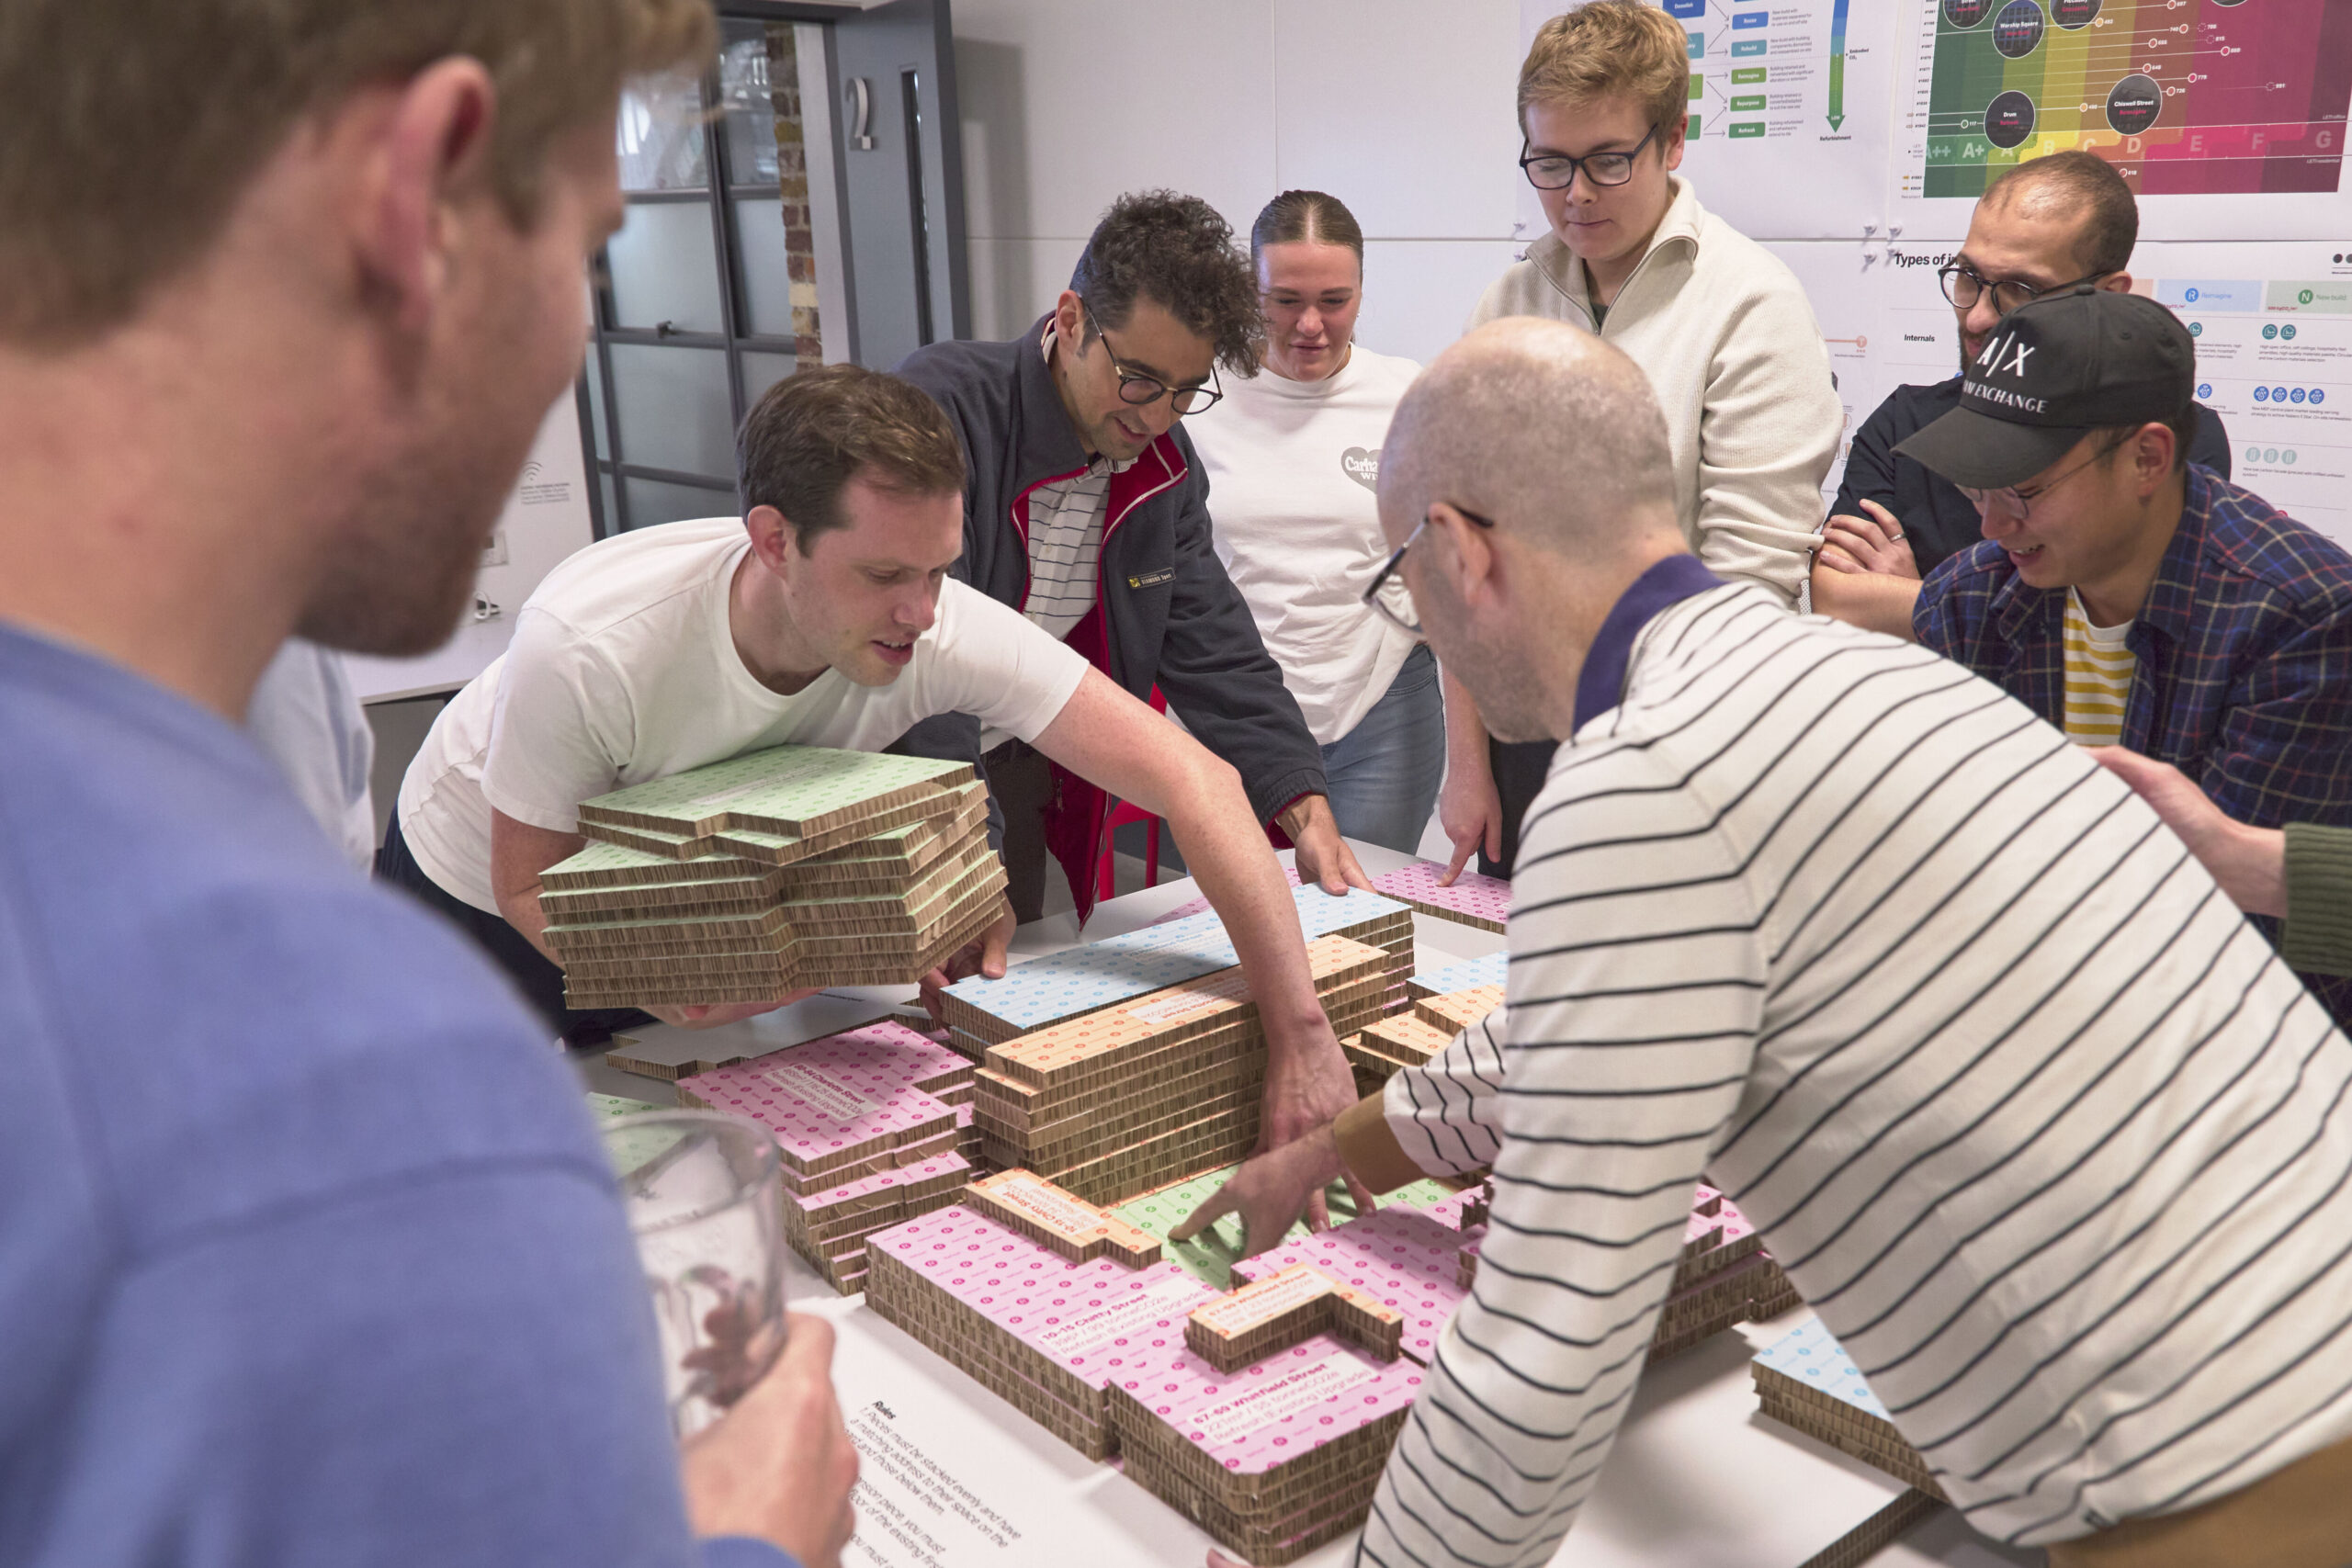
The Project
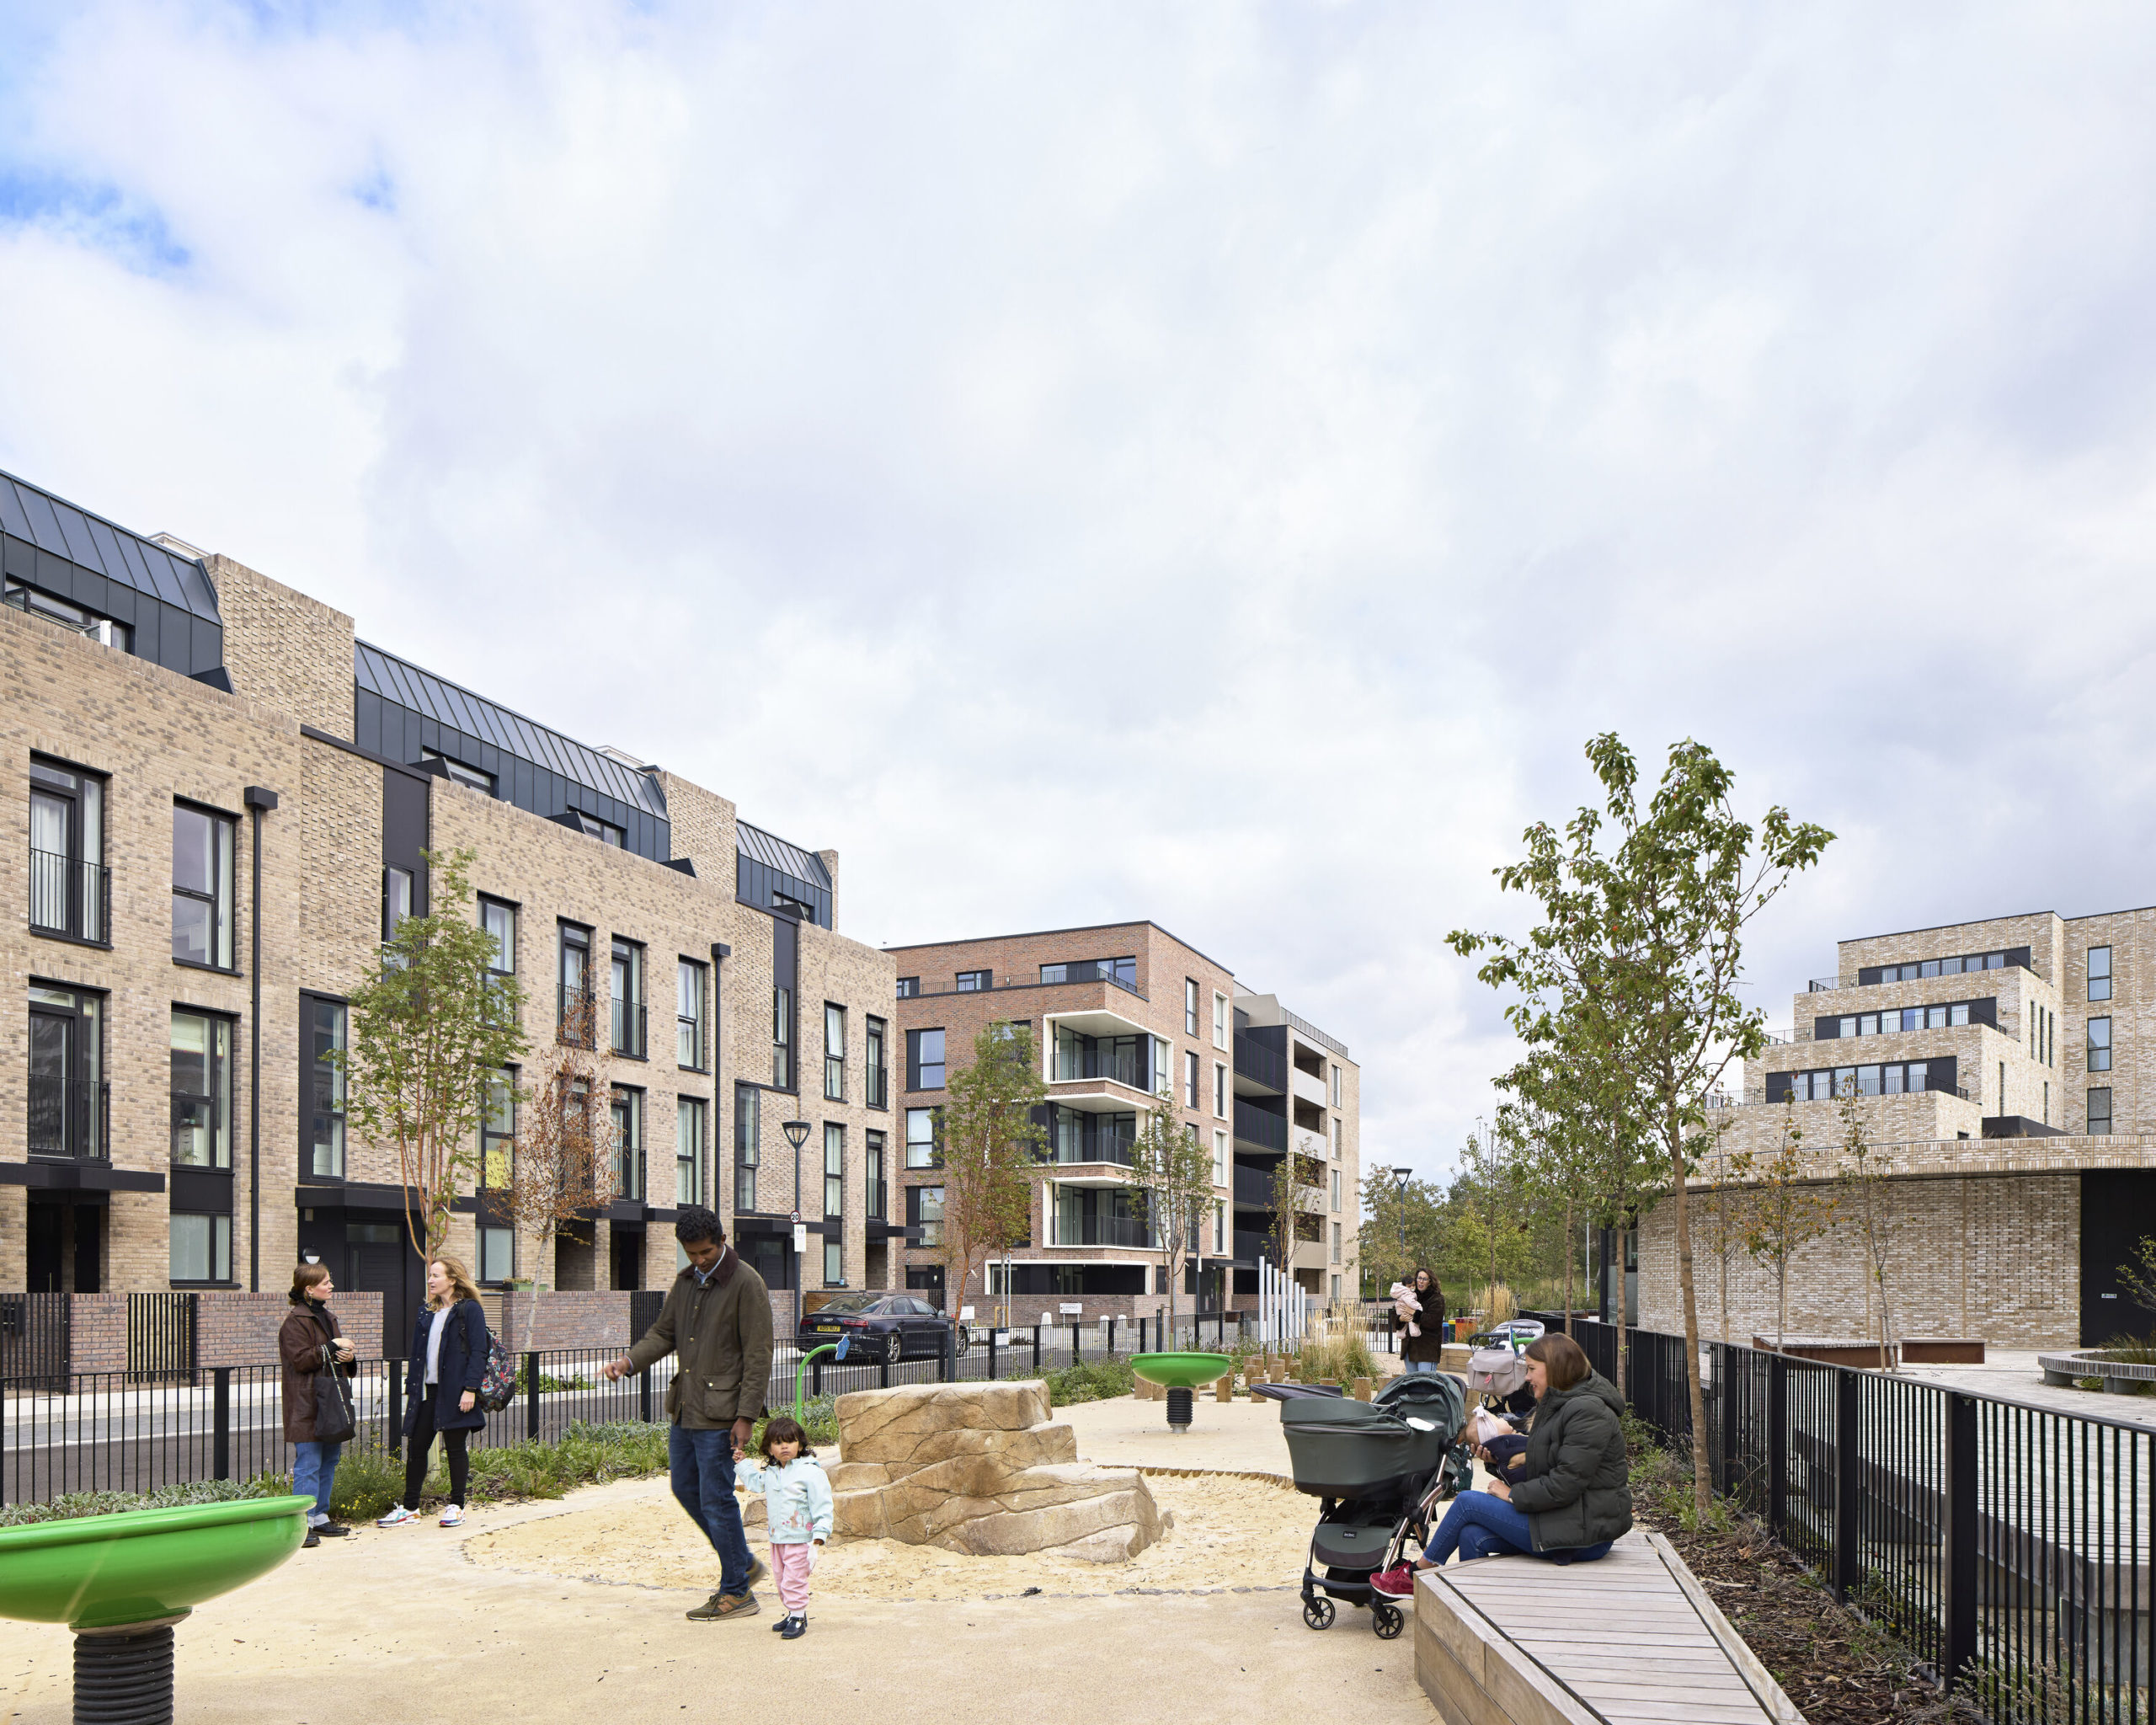
The Teaching and Learning Building is the sixth building Make has delivered for the University of Nottingham to date. Designed to provide a focal point for the University Park campus, the new hub acts as a welcoming nexus for students as they move across the university’s new Learning Quarter. James Picot worked on a model for the project while on work experience at Make and later when he was back at home.
What was the purpose of the model?
JP: The showcase model for the Teaching and Learning Building needed to be highly detailed, with a full interior to fully show off the building. I made sure to include the details on the elevations and glass curtain, that the building was set into the base correctly and accurately, and replicated the furniture and stairs throughout.
![#](https://make-arch.imgix.net/https%3A%2F%2Fwww.makearchitects.com%2Fwp-content%2Fuploads%2F2020%2F06%2FTLB-model-James-Picot-3-scaled.jpg?auto=format&crop=center&fit=crop&h=113&ixlib=php-1.2.1&w=210&s=88c470165f1d02245fad248fd5510851 210w,https://make-arch.imgix.net/https%3A%2F%2Fwww.makearchitects.com%2Fwp-content%2Fuploads%2F2020%2F06%2FTLB-model-James-Picot-3-scaled.jpg?auto=format&crop=center&fit=crop&h=226&ixlib=php-1.2.1&w=420&s=a3e48398bc26a793664624f1e69701d1 420w,https://make-arch.imgix.net/https%3A%2F%2Fwww.makearchitects.com%2Fwp-content%2Fuploads%2F2020%2F06%2FTLB-model-James-Picot-3-scaled.jpg?auto=format&crop=center&fit=crop&h=413&ixlib=php-1.2.1&w=768&s=8dafcb06d52809c41ed88e1631b610b8 768w,https://make-arch.imgix.net/https%3A%2F%2Fwww.makearchitects.com%2Fwp-content%2Fuploads%2F2020%2F06%2FTLB-model-James-Picot-3-scaled.jpg?auto=format&crop=center&fit=crop&h=551&ixlib=php-1.2.1&w=1024&s=9f3d712c7cf7da25039358afe03d95fd 1024w,https://make-arch.imgix.net/https%3A%2F%2Fwww.makearchitects.com%2Fwp-content%2Fuploads%2F2020%2F06%2FTLB-model-James-Picot-3-scaled.jpg?auto=format&crop=center&fit=crop&h=753&ixlib=php-1.2.1&w=1400&s=150a519019a6dbfae6a8d19f49531a97 1400w,https://make-arch.imgix.net/https%3A%2F%2Fwww.makearchitects.com%2Fwp-content%2Fuploads%2F2020%2F06%2FTLB-model-James-Picot-3-scaled.jpg?auto=format&crop=center&fit=crop&h=861&ixlib=php-1.2.1&w=1600&s=0398f1509661004a9c199bcdafff8fa8 1600w,https://make-arch.imgix.net/https%3A%2F%2Fwww.makearchitects.com%2Fwp-content%2Fuploads%2F2020%2F06%2FTLB-model-James-Picot-3-scaled.jpg?auto=format&crop=center&fit=crop&h=1033&ixlib=php-1.2.1&w=1920&s=6016593d09ad4fd739ef235a67eae2a1 1920w)
How did you make it?
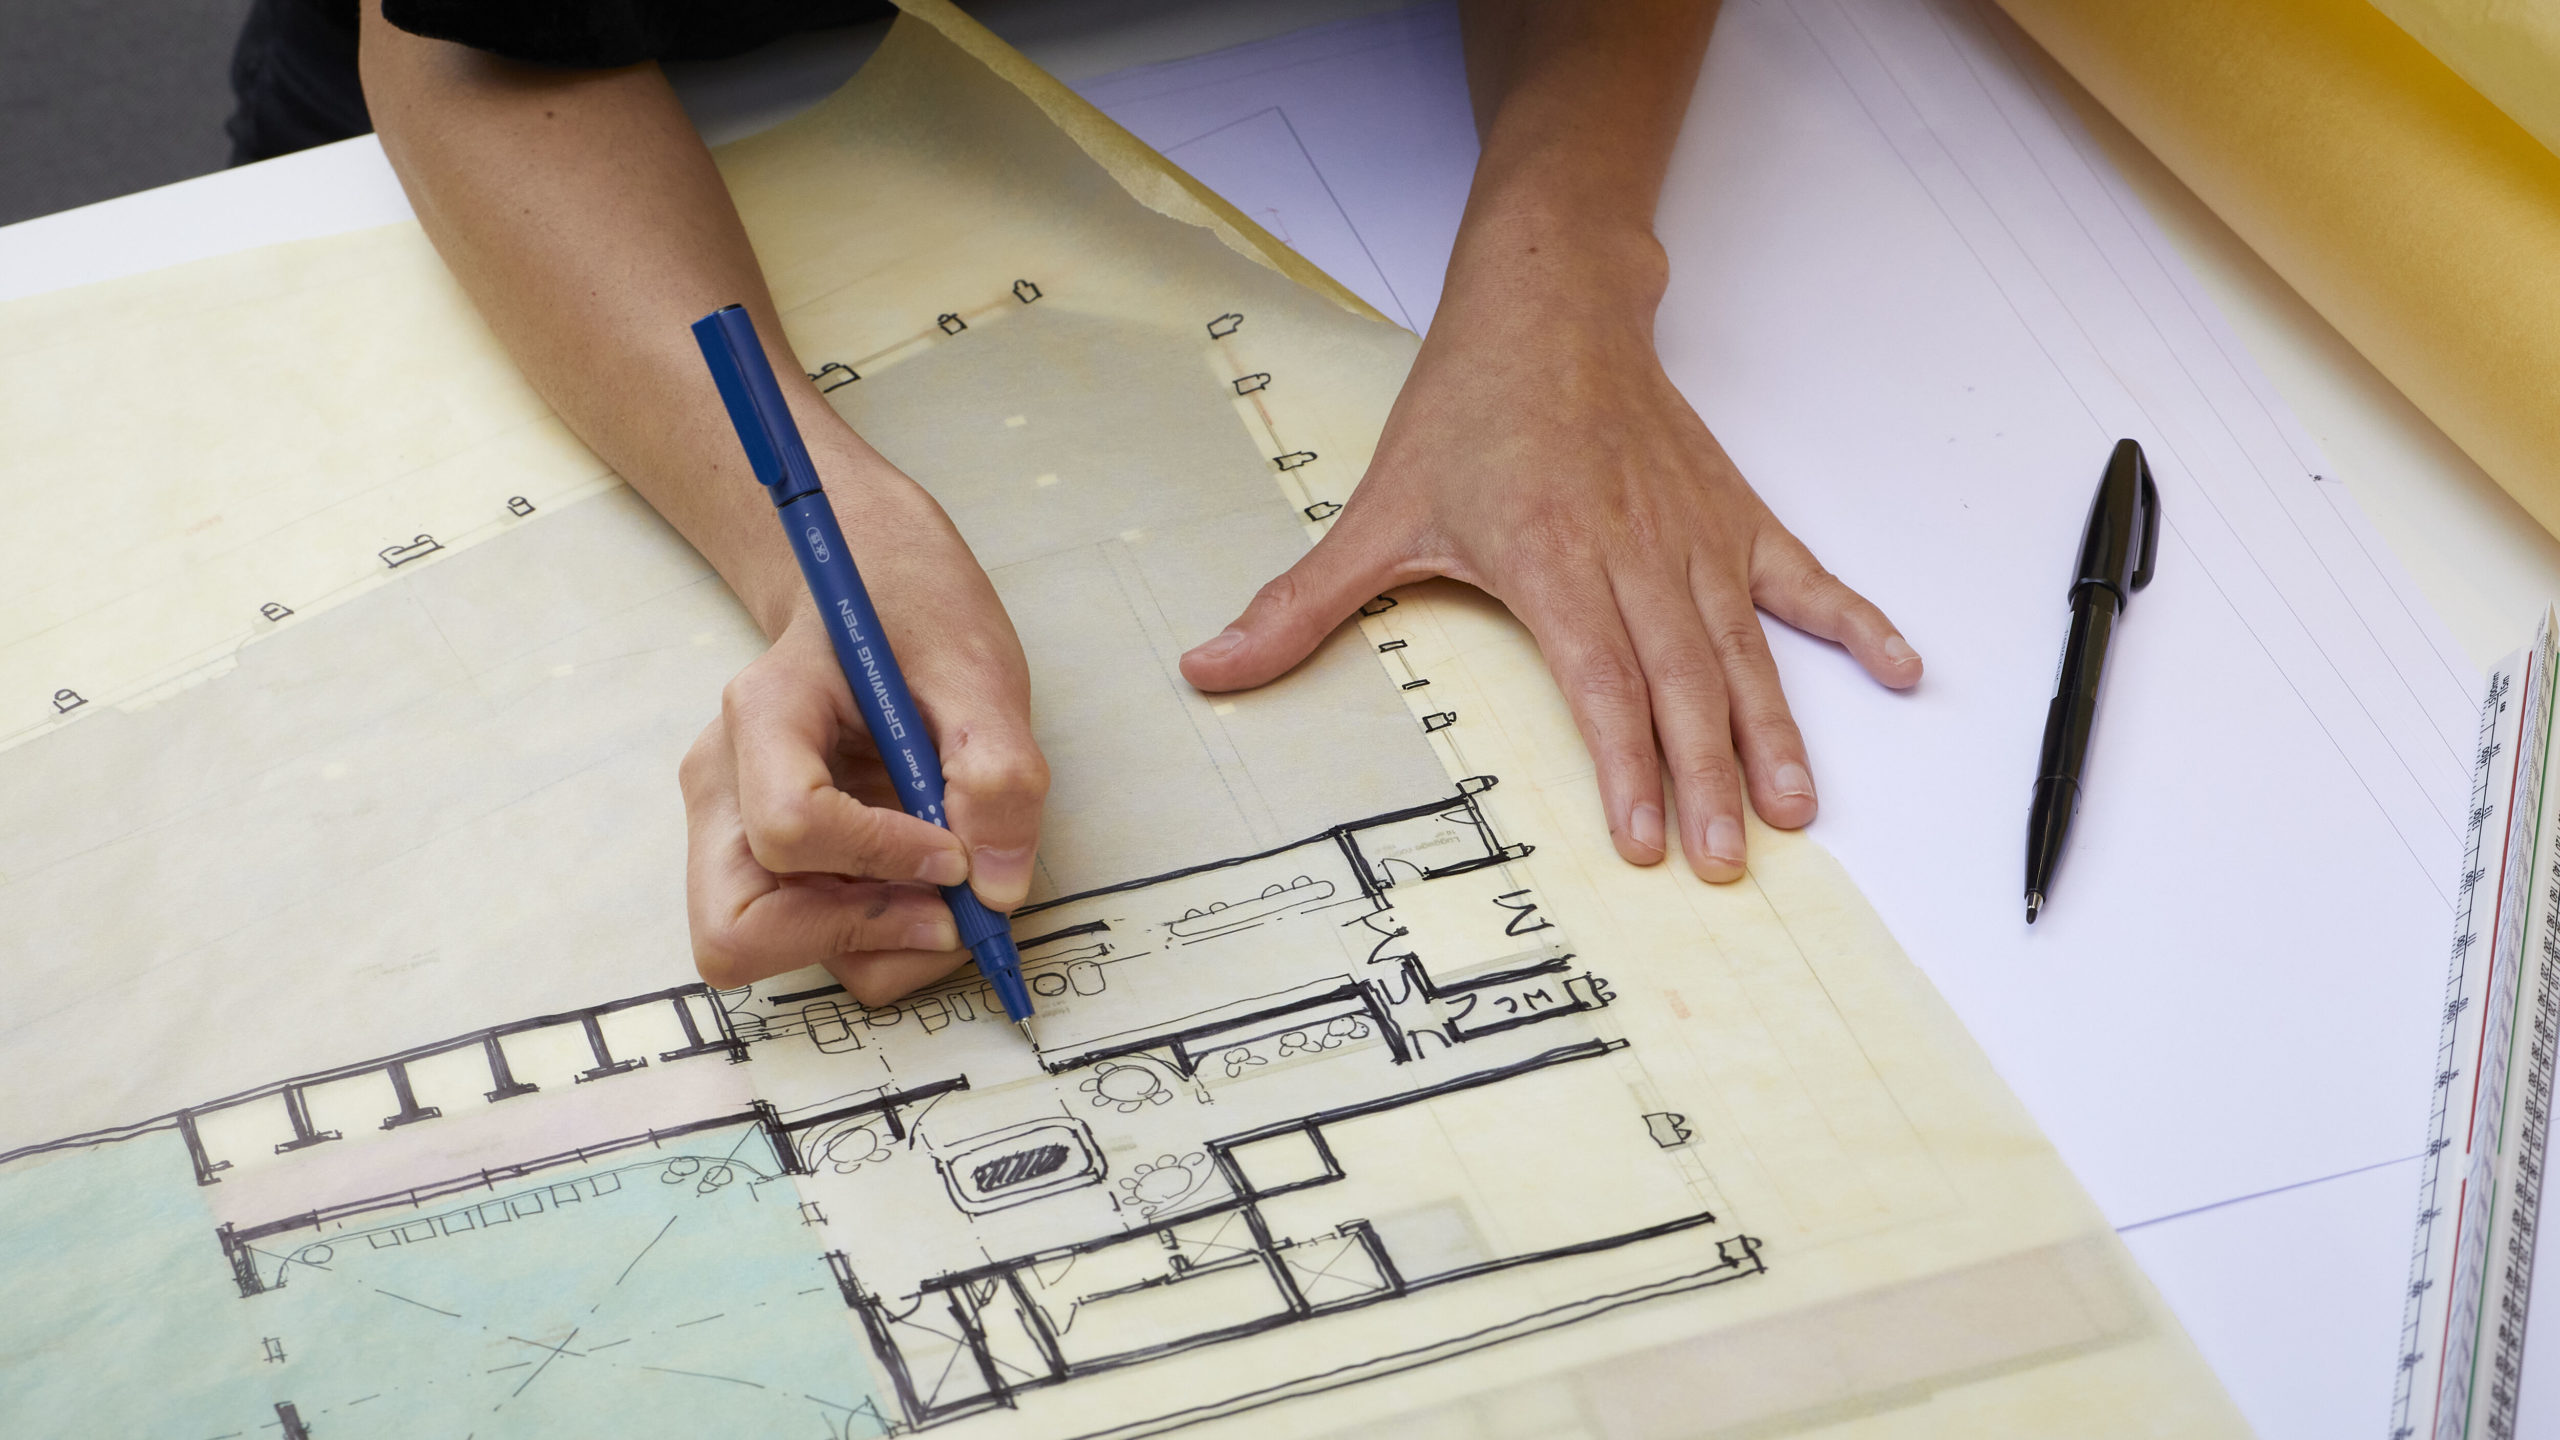
JP: I received CAD files from Make and spent a couple of weeks using them to build my own 3D model to work from. Once I had workable files, I began sorting them into groups of parts ready to be laser cut. I came up to London for a week to start making the model. Over the five days at Make, I completed the base and used the time there to make sure all my CAD work was correct and my plans for the build were sound. I began construction of the building once I returned from London, starting with the internal core and floorplates. The floorplates were laser-cut acrylic sheets, spaced out with acrylic cores that interlocked. I laser cut all the internal and external walls from basswood and engraved the exterior detail on. I built a jig and mitered the edges of the walls.
Once the interior walls were in place, I 3D-printed the tables, chairs and stairs, and began gluing them into position on each floor. I populated each floor with small figures I’d laser cut from sprayed acrylic. Once the floors were complete, I glued them into position and attached the stairs, locking the internal structure in place. The exterior walls had strips of windows glued to the back, and then were slotted onto the outside of the structure. The entire building was slotted into the base and glued down, and the final details and finishes were added, including the glass curtain, trees and roof details.
![#](https://make-arch.imgix.net/https%3A%2F%2Fwww.makearchitects.com%2Fwp-content%2Fuploads%2F2020%2F06%2FTLB-model-James-Picot-5-scaled.jpg?auto=format&crop=center&fit=crop&h=119&ixlib=php-1.2.1&w=210&s=47afe606ed1ffe206c8da5adfc24ee6e 210w,https://make-arch.imgix.net/https%3A%2F%2Fwww.makearchitects.com%2Fwp-content%2Fuploads%2F2020%2F06%2FTLB-model-James-Picot-5-scaled.jpg?auto=format&crop=center&fit=crop&h=237&ixlib=php-1.2.1&w=420&s=6babcad7cd47c6596cdd7a6c212b9083 420w,https://make-arch.imgix.net/https%3A%2F%2Fwww.makearchitects.com%2Fwp-content%2Fuploads%2F2020%2F06%2FTLB-model-James-Picot-5-scaled.jpg?auto=format&crop=center&fit=crop&h=434&ixlib=php-1.2.1&w=768&s=1697d70060587c09a485758e7e737fa5 768w,https://make-arch.imgix.net/https%3A%2F%2Fwww.makearchitects.com%2Fwp-content%2Fuploads%2F2020%2F06%2FTLB-model-James-Picot-5-scaled.jpg?auto=format&crop=center&fit=crop&h=579&ixlib=php-1.2.1&w=1024&s=d42f964cd80ad09a52da392f4c2678ab 1024w,https://make-arch.imgix.net/https%3A%2F%2Fwww.makearchitects.com%2Fwp-content%2Fuploads%2F2020%2F06%2FTLB-model-James-Picot-5-scaled.jpg?auto=format&crop=center&fit=crop&h=791&ixlib=php-1.2.1&w=1400&s=35309fdfe4c12f49752624870a1fd51e 1400w,https://make-arch.imgix.net/https%3A%2F%2Fwww.makearchitects.com%2Fwp-content%2Fuploads%2F2020%2F06%2FTLB-model-James-Picot-5-scaled.jpg?auto=format&crop=center&fit=crop&h=904&ixlib=php-1.2.1&w=1600&s=4388d10d6c7f6ae5e5ffa9e8e0faa925 1600w,https://make-arch.imgix.net/https%3A%2F%2Fwww.makearchitects.com%2Fwp-content%2Fuploads%2F2020%2F06%2FTLB-model-James-Picot-5-scaled.jpg?auto=format&crop=center&fit=crop&h=1085&ixlib=php-1.2.1&w=1920&s=bbbe3428c66adf9a96ba531e9af72342 1920w)
Were there any interesting material choices, finishes, details or techniques in construction?
JP: I decided to make the model from wood, as I hadn’t made an architectural model from wood at that point. Make was happy for me to take the project where I wanted, which gave me plenty of freedom to make decisions like that. I hadn’t made an architectural model from wood at that point. Using wood introduces its own challenges, as you have the natural grain to worry about. You need to be careful to make your parts follow the grain consistently, otherwise the flow of the model could be broken or look uneven.
I really like the central staircase that runs up the center, connecting each floor. I think it helps sell the scale of the interior quite nicely, and it’s just an interesting transitional space that opens up the area.
![#](https://make-arch.imgix.net/https%3A%2F%2Fwww.makearchitects.com%2Fwp-content%2Fuploads%2F2020%2F06%2FTLB-model-James-Picot-2-scaled.jpg?auto=format&crop=center&fit=crop&h=140&ixlib=php-1.2.1&w=210&s=d431206901608e675149d2370cd98c49 210w,https://make-arch.imgix.net/https%3A%2F%2Fwww.makearchitects.com%2Fwp-content%2Fuploads%2F2020%2F06%2FTLB-model-James-Picot-2-scaled.jpg?auto=format&crop=center&fit=crop&h=280&ixlib=php-1.2.1&w=420&s=4aa35189b33aab6aa0700ddde7efc445 420w,https://make-arch.imgix.net/https%3A%2F%2Fwww.makearchitects.com%2Fwp-content%2Fuploads%2F2020%2F06%2FTLB-model-James-Picot-2-scaled.jpg?auto=format&crop=center&fit=crop&h=512&ixlib=php-1.2.1&w=768&s=f3ceaba10279a5349ce61efd487853f9 768w,https://make-arch.imgix.net/https%3A%2F%2Fwww.makearchitects.com%2Fwp-content%2Fuploads%2F2020%2F06%2FTLB-model-James-Picot-2-scaled.jpg?auto=format&crop=center&fit=crop&h=682&ixlib=php-1.2.1&w=1024&s=56f409db786c32afc8ad7ab6c9ad373a 1024w,https://make-arch.imgix.net/https%3A%2F%2Fwww.makearchitects.com%2Fwp-content%2Fuploads%2F2020%2F06%2FTLB-model-James-Picot-2-scaled.jpg?auto=format&crop=center&fit=crop&h=933&ixlib=php-1.2.1&w=1400&s=fb84c55ffe30a944441b9cec6faf89ba 1400w,https://make-arch.imgix.net/https%3A%2F%2Fwww.makearchitects.com%2Fwp-content%2Fuploads%2F2020%2F06%2FTLB-model-James-Picot-2-scaled.jpg?auto=format&crop=center&fit=crop&h=1066&ixlib=php-1.2.1&w=1600&s=a98dc626b971887e907b90fc751d09e2 1600w,https://make-arch.imgix.net/https%3A%2F%2Fwww.makearchitects.com%2Fwp-content%2Fuploads%2F2020%2F06%2FTLB-model-James-Picot-2-scaled.jpg?auto=format&crop=center&fit=crop&h=1280&ixlib=php-1.2.1&w=1920&s=ef37b345f8622d0f9774b2698db890bb 1920w)
![#](https://make-arch.imgix.net/https%3A%2F%2Fwww.makearchitects.com%2Fwp-content%2Fuploads%2F2020%2F06%2FTLB-model-James-Picot-4-scaled.jpg?auto=format&crop=center&fit=crop&h=106&ixlib=php-1.2.1&w=210&s=3af8625c1dfaaa98472ecec0b6c99e04 210w,https://make-arch.imgix.net/https%3A%2F%2Fwww.makearchitects.com%2Fwp-content%2Fuploads%2F2020%2F06%2FTLB-model-James-Picot-4-scaled.jpg?auto=format&crop=center&fit=crop&h=212&ixlib=php-1.2.1&w=420&s=b22e01f70e81cf166cc05e45d80790d2 420w,https://make-arch.imgix.net/https%3A%2F%2Fwww.makearchitects.com%2Fwp-content%2Fuploads%2F2020%2F06%2FTLB-model-James-Picot-4-scaled.jpg?auto=format&crop=center&fit=crop&h=388&ixlib=php-1.2.1&w=768&s=df2c1cb1e09ef556f35a402e565b728c 768w,https://make-arch.imgix.net/https%3A%2F%2Fwww.makearchitects.com%2Fwp-content%2Fuploads%2F2020%2F06%2FTLB-model-James-Picot-4-scaled.jpg?auto=format&crop=center&fit=crop&h=517&ixlib=php-1.2.1&w=1024&s=1b71dfbca49a30bee709c201805432df 1024w,https://make-arch.imgix.net/https%3A%2F%2Fwww.makearchitects.com%2Fwp-content%2Fuploads%2F2020%2F06%2FTLB-model-James-Picot-4-scaled.jpg?auto=format&crop=center&fit=crop&h=707&ixlib=php-1.2.1&w=1400&s=c439a0935479c971ece2a08502217d40 1400w,https://make-arch.imgix.net/https%3A%2F%2Fwww.makearchitects.com%2Fwp-content%2Fuploads%2F2020%2F06%2FTLB-model-James-Picot-4-scaled.jpg?auto=format&crop=center&fit=crop&h=808&ixlib=php-1.2.1&w=1600&s=8a1f0d038e2764fc64447b98a5f32623 1600w,https://make-arch.imgix.net/https%3A%2F%2Fwww.makearchitects.com%2Fwp-content%2Fuploads%2F2020%2F06%2FTLB-model-James-Picot-4-scaled.jpg?auto=format&crop=center&fit=crop&h=969&ixlib=php-1.2.1&w=1920&s=51d5753d86fde2a1fd1cab53c97c149c 1920w)
Did you face any particular challenges and how did you overcome them?
JP: This project was the first time I had been given real architects’ CAD files to work from. During my time on the course we were usually given files that were for us as modelmakers to use. It took me some time to figure out what was needed and what wasn’t, and how to dissect and rebuild the files from the ground up. Although stressful, I enjoyed being thrown in at the deep end and it was a valuable experience I have definitely benefited from.
This post forms part of our #futuremodelmakers campaign to celebrate the work of the 2020 modelmaking graduates.