How did you make it?
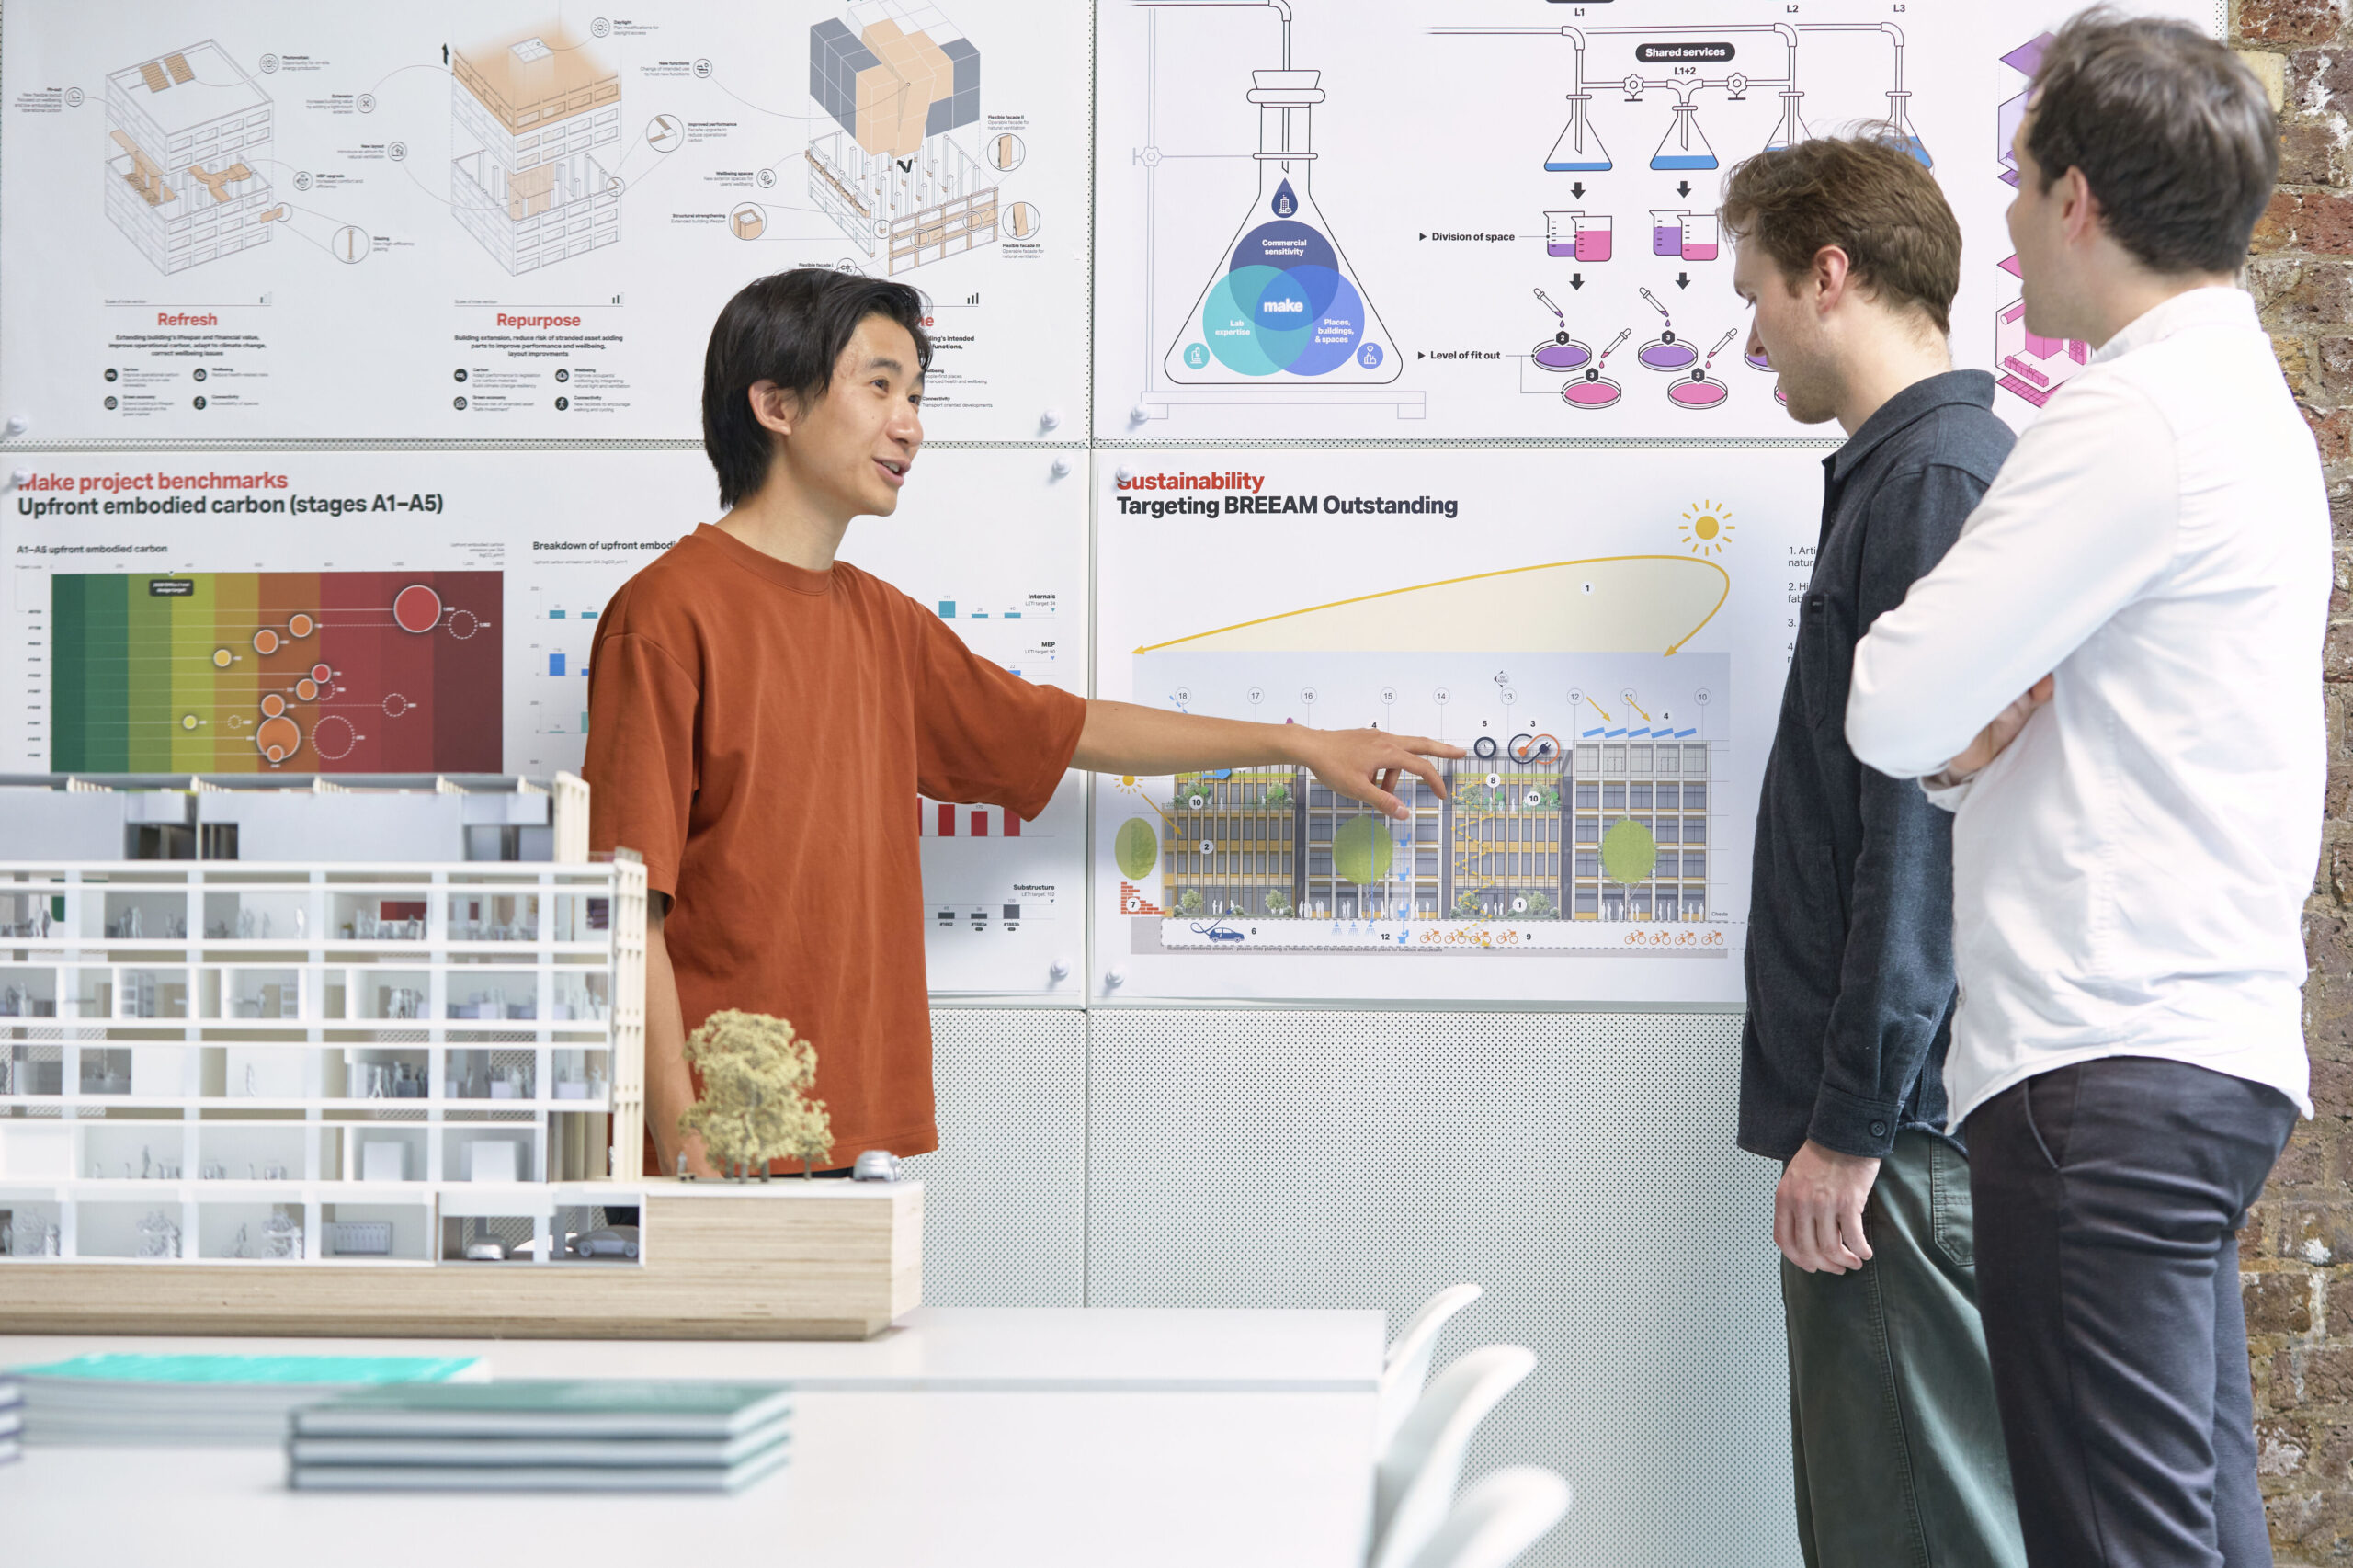
I started off by making a test model that demonstrated how the LEDs would work in the thin floor slab, along with the finishes used. Once this was signed off, I proceeded to build a Rhino CAD model where I organised and prepared components for laser cutting, 3D printing and CNC machining, and decided which bits would be made on the workshop machinery. Once the CAD model was finished, it was a process of laser cutting the majority of components, then spraying them for assembly.

Were there any interesting material choices, finishes, details or techniques in construction?
The floorplates were made from a sandwich layer system – the slab was 5mm with a 5mm soffit, so the main plate was a 4mm sheet with a 1mm skin on top with etched linework. The 4mm sheet had a channel cut out for the LEDs to sit in, with the 5mm soffit being a translucent acrylic to disperse light throughout the floorplate.
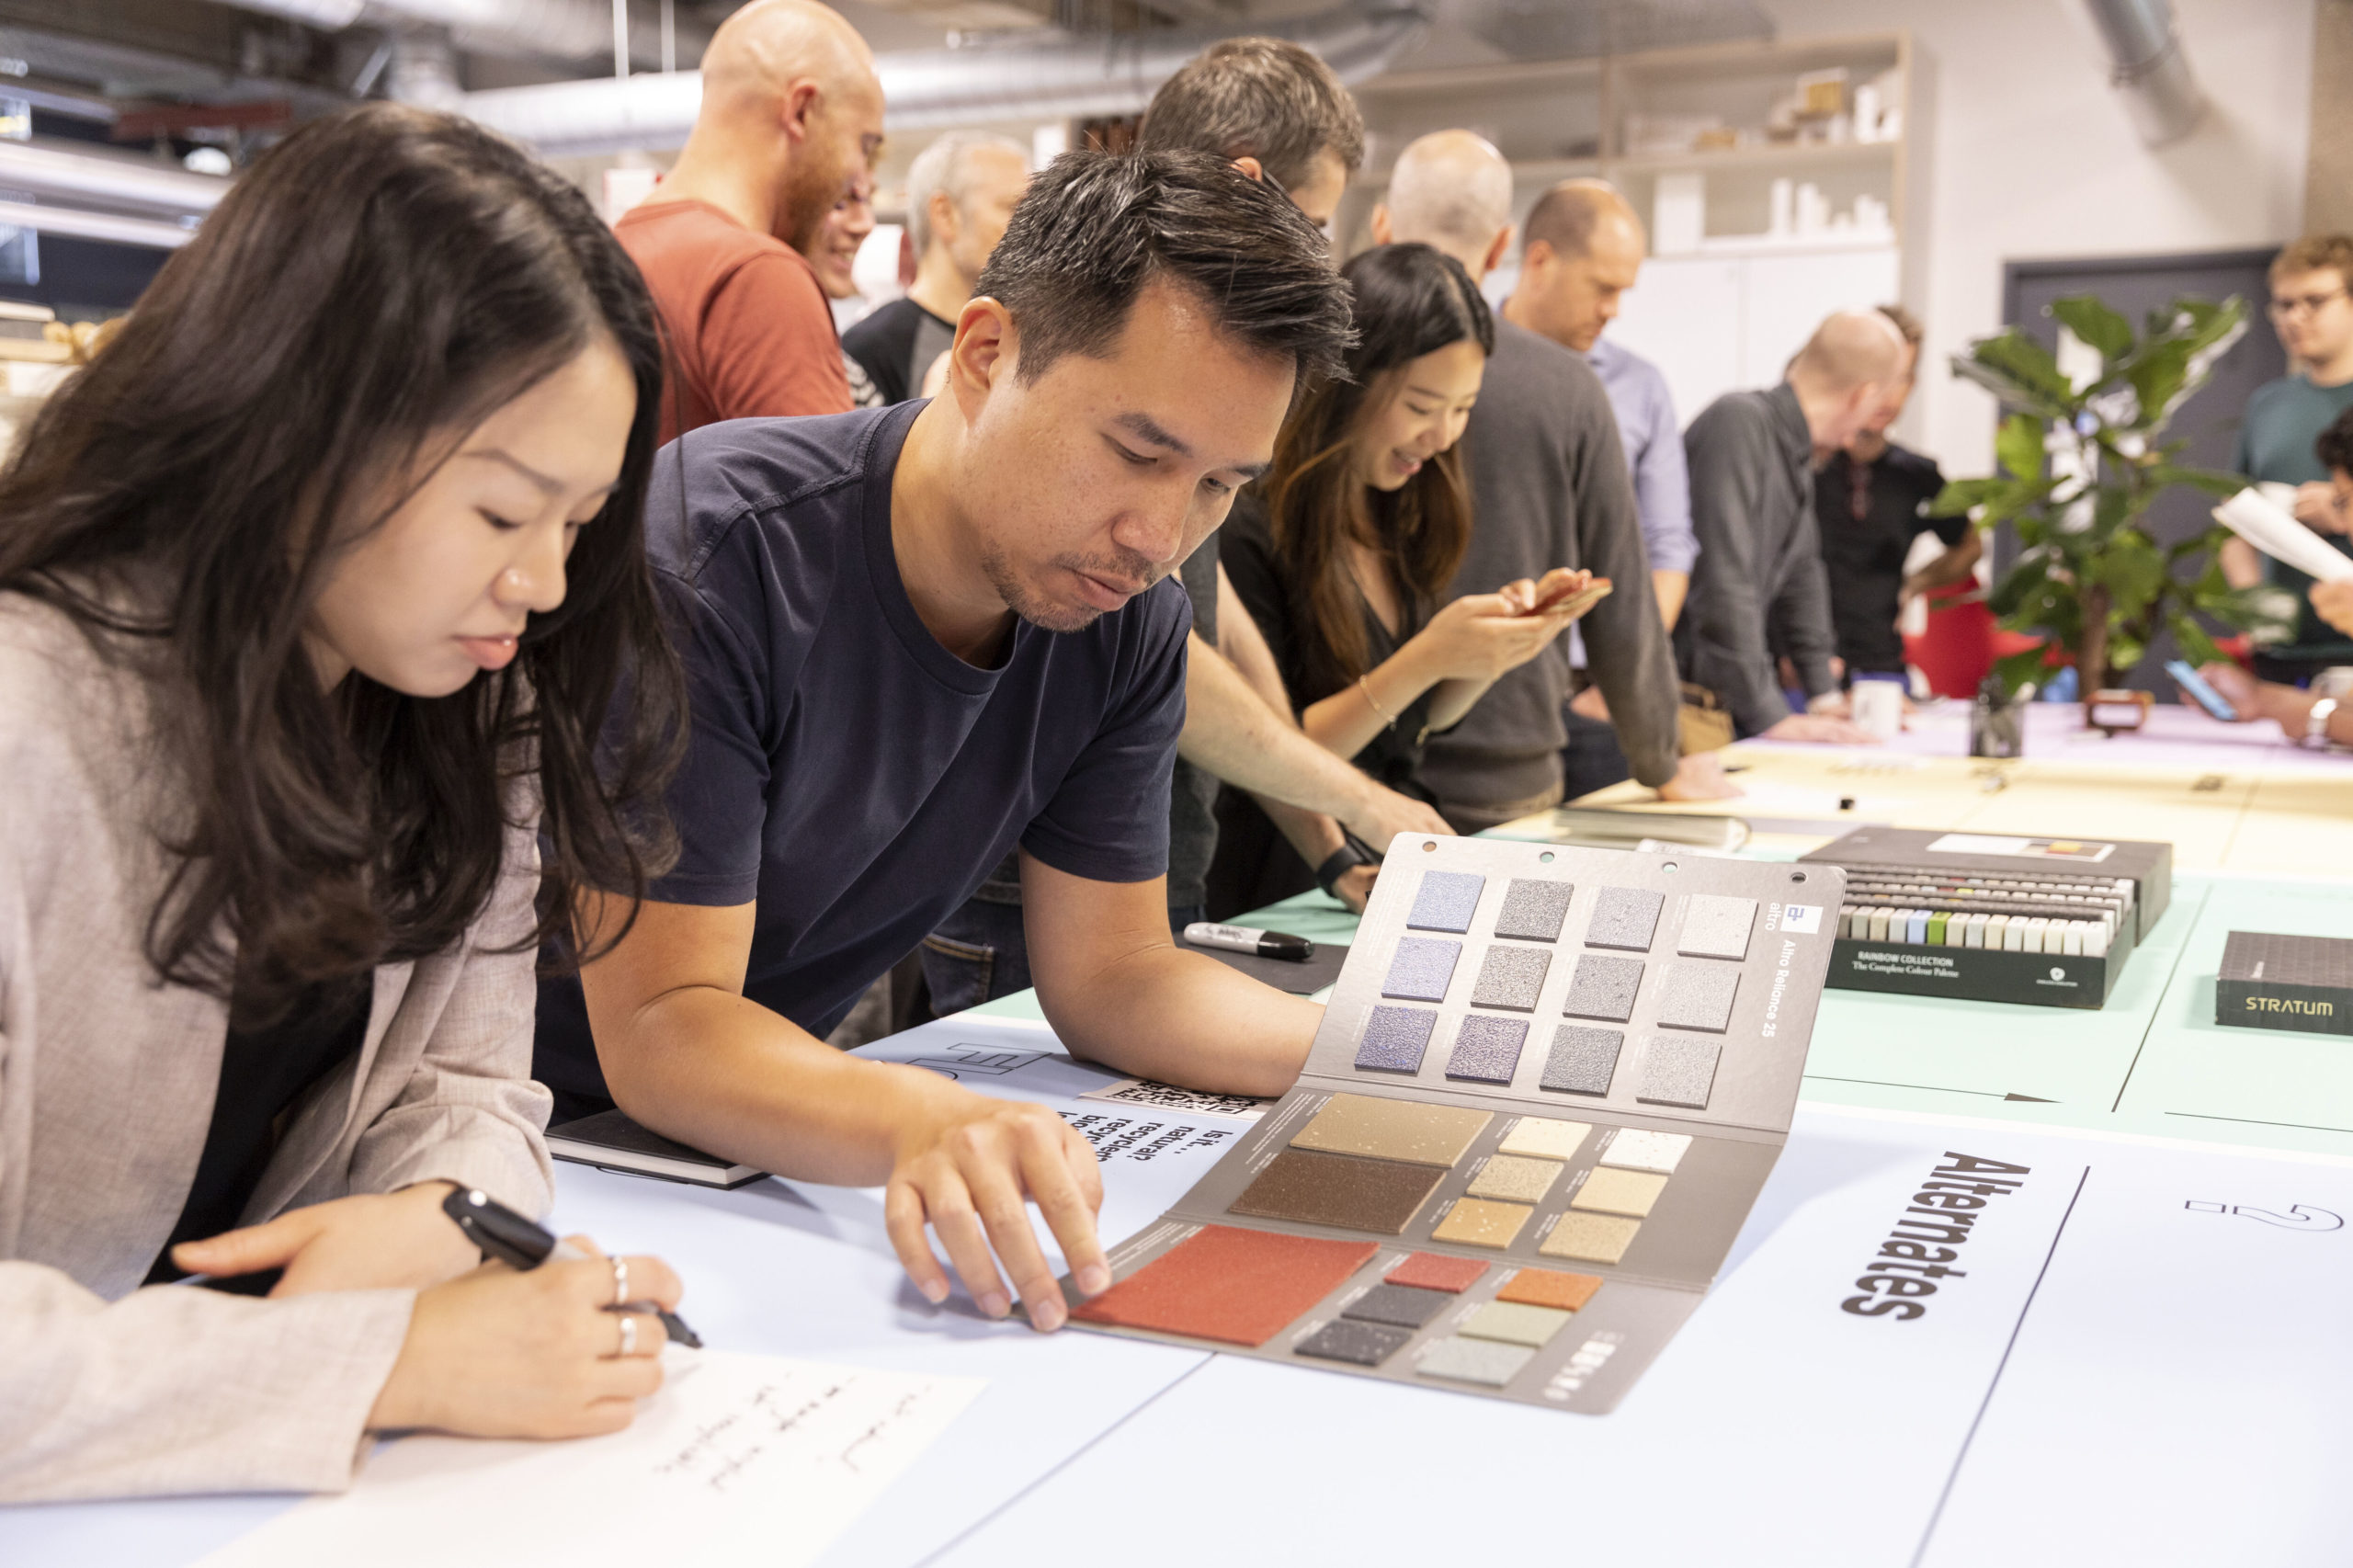
The horizontal louvres were made from brass etchings, so they were sprayed with a metal primer before an anthracite cellulose spray to represent the material in reality. The glazing had tiny holes cut out for the louvres to sit in. The tips of the louvres were dipped in a tensol solution that then could be attached to the glazing with dichlo (aka dichloromethane, or methylene chloride, a common PLA adhesive).

Did you face any particular challenges and how did you overcome them?
The biggest challenge I had to overcome was figuring out how the louvres would work on the model. Calculating the shape, how many segments would slot into the glazing, would the edge of the etching sit against the glazing as a strip? We tested the various options on the test model I made, and found having three points on each louvre that intersected the glazing worked best, as it was quick to locate on the model, and three points of contact meant the louvre didn’t move.
